Overview: Find out how Modern Classroom, the best teaching tool designed to enhance learning in any type of classroom—from traditional classrooms to college coaching facilities—can benefit you.
We outline all kinds of good information, and provide you with all the details you need to use Modern Classroom. Modern Classroom can be used with any Classroom, college coaching/training institutes.
System Requirements
To installing Modern Classroom, Your web server must be running PHP 5.4 or higher, and Mysql 5.1 or higher. We have tested it with Windows, Mac and Linux but for optimum performance we will recommend to use Linux with Apache webserver. Below are a list of items you should ensure your host can comply with.
- PHP 7.0+
- mod_rewrite Apache
- OpenSSL
- Pdp
- MBString Extension
- MYSQLi Extension
- Tokenizer Extension
- JSON
- CURL Extension (recommended)
- * In most hosting accounts, these extensions are enabled by default. But you should check with your hosting provider.
Modern Classroom Installation
Modern Classroom comes with a simple automatic installer.
Configure database connection
You need to have previously setup database from the cPanel or your hosting provider.
- Login to cPanel by accessing www.yourdomain.com/cpanel and navigate go MySQL Databases.
- Create database first.
- Create user and setup your password.
- Add the user to database by selecting the database and the username.
Make sure you have checked All privileged when adding the user to database.
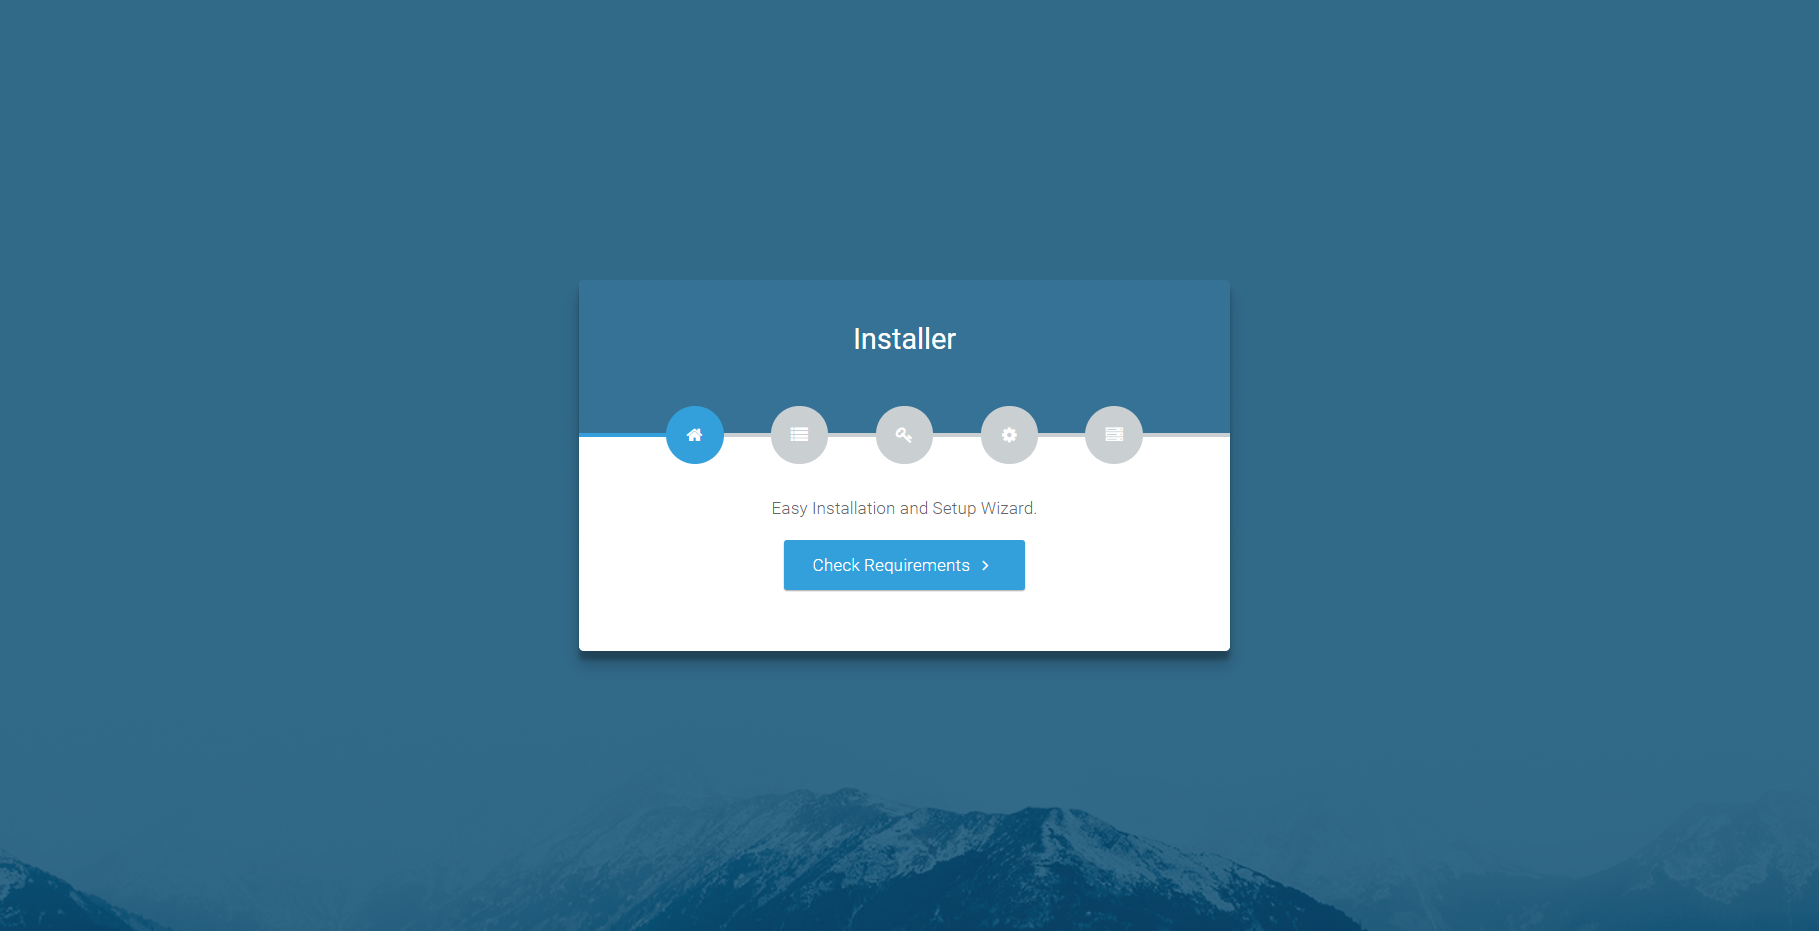
Find the folder modern_classroom_src in your downloaded package from the downloaded zip file. This folder contains complete source code files need to install Modern Classroom with installation documentation. Upload all the files under this folder to your hosting folder and navigate to your url http://yourdomain.com/ . After hitting url http://yourdomain.com/ system redirects to http://yourdomain.com/install/start to start installer.
You will need to pass the server requirements in order to install Modern Classroom.
Click Database Setup and populate the fields according to your database setup.
If any errors found while connecting you will be notified otherwise you should see the credentials screen
Enter Admin Email and Password for your Admin Panel Login
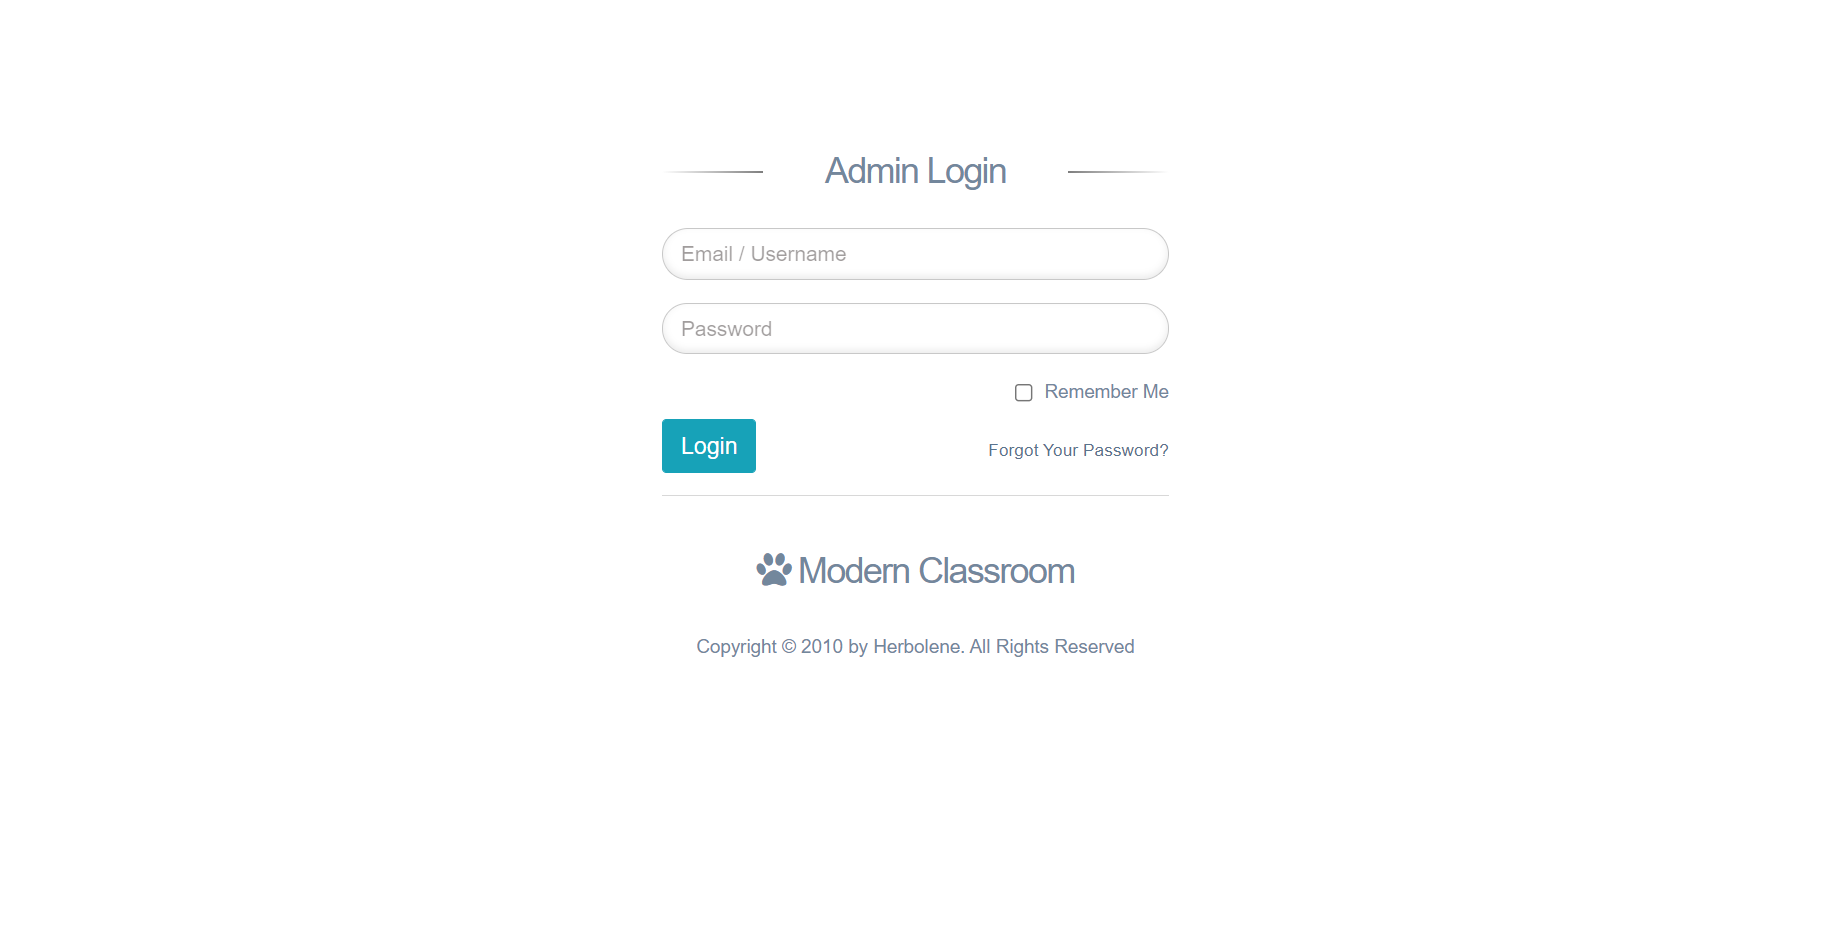
Great! You have successfully installed Modern Classroom. Click on "Delete Install Directory and Login" button to go to Admin Login page.
After successful installation you need to setup few things about your Classroom. Modern Classroom comes with some predefined data but you still need to configure them as per your Classroom.
N.B: If you use own VPS(Virtual Private Server), then you should run this command to link the images and file to the classroom.
ln -s /path/to/laravel/storage/app/public /path/to/public/storage
Login to Admin Panel through URL - http://yourdomain/admin/login
User can login with Username or Email
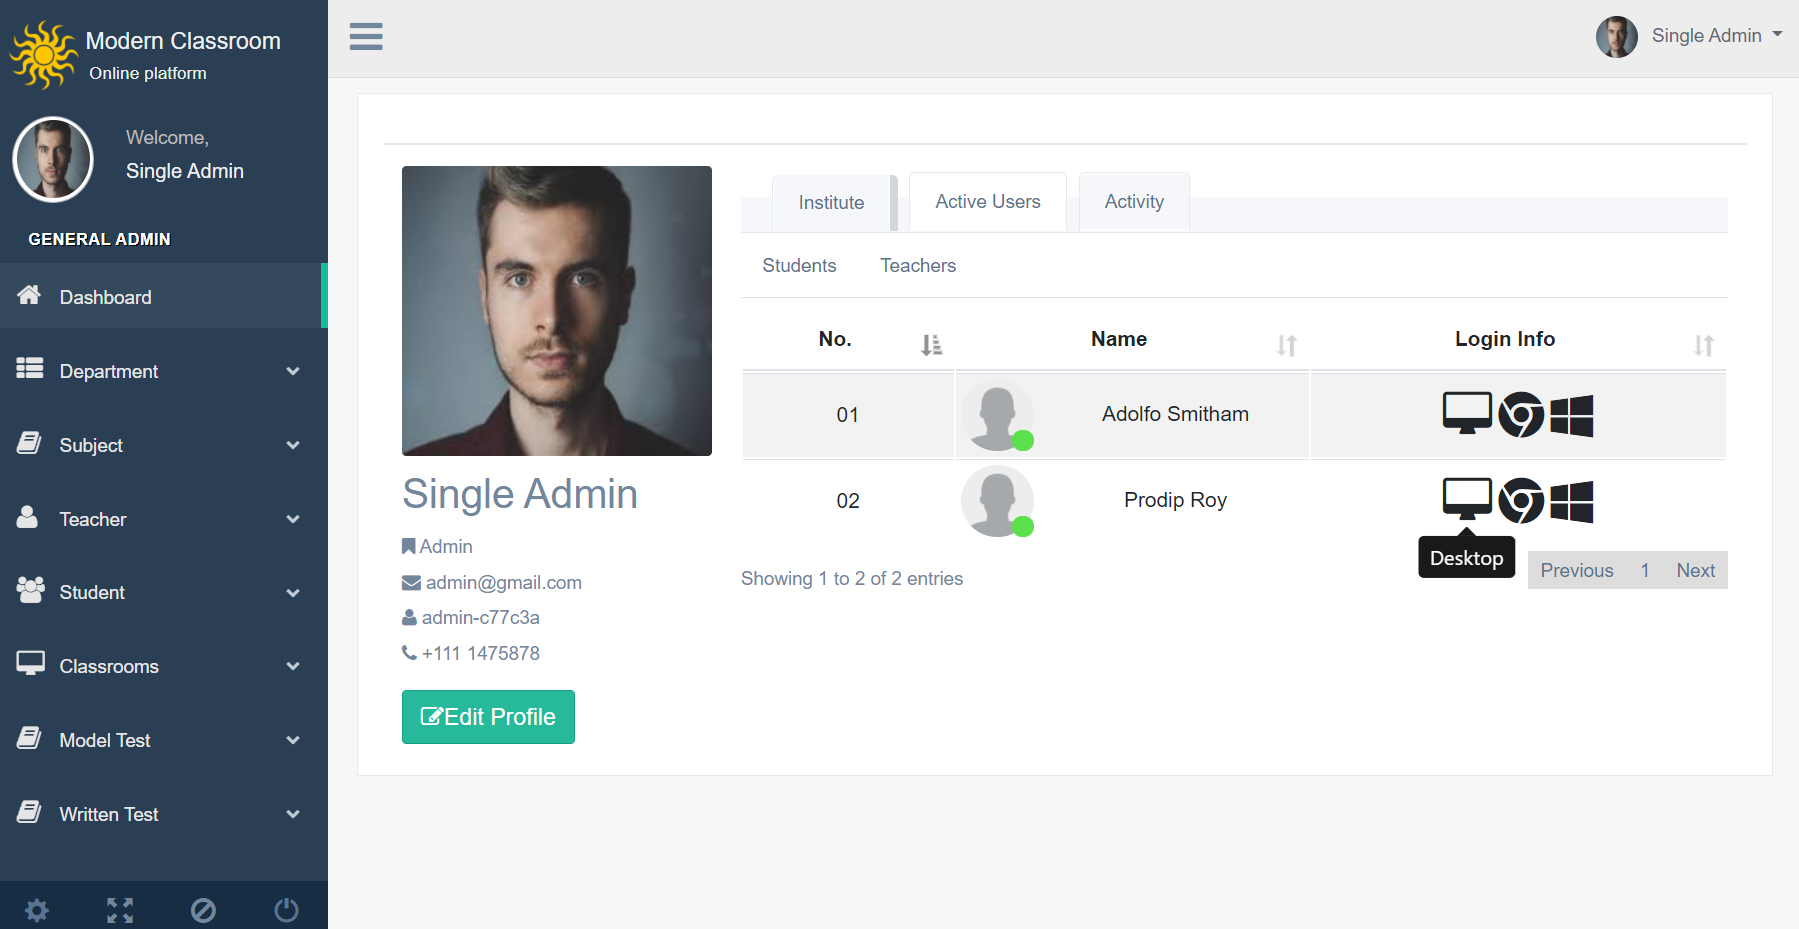
After successful login you will reach to Admin Dashboard. Below you can find navigational overview of user screen.
Admin Panel consist of thoes following modules -
- Admin Dashboard - for all the information related to institute like student , exam, evaluation etc.
- Department - for all the information related to institute departments
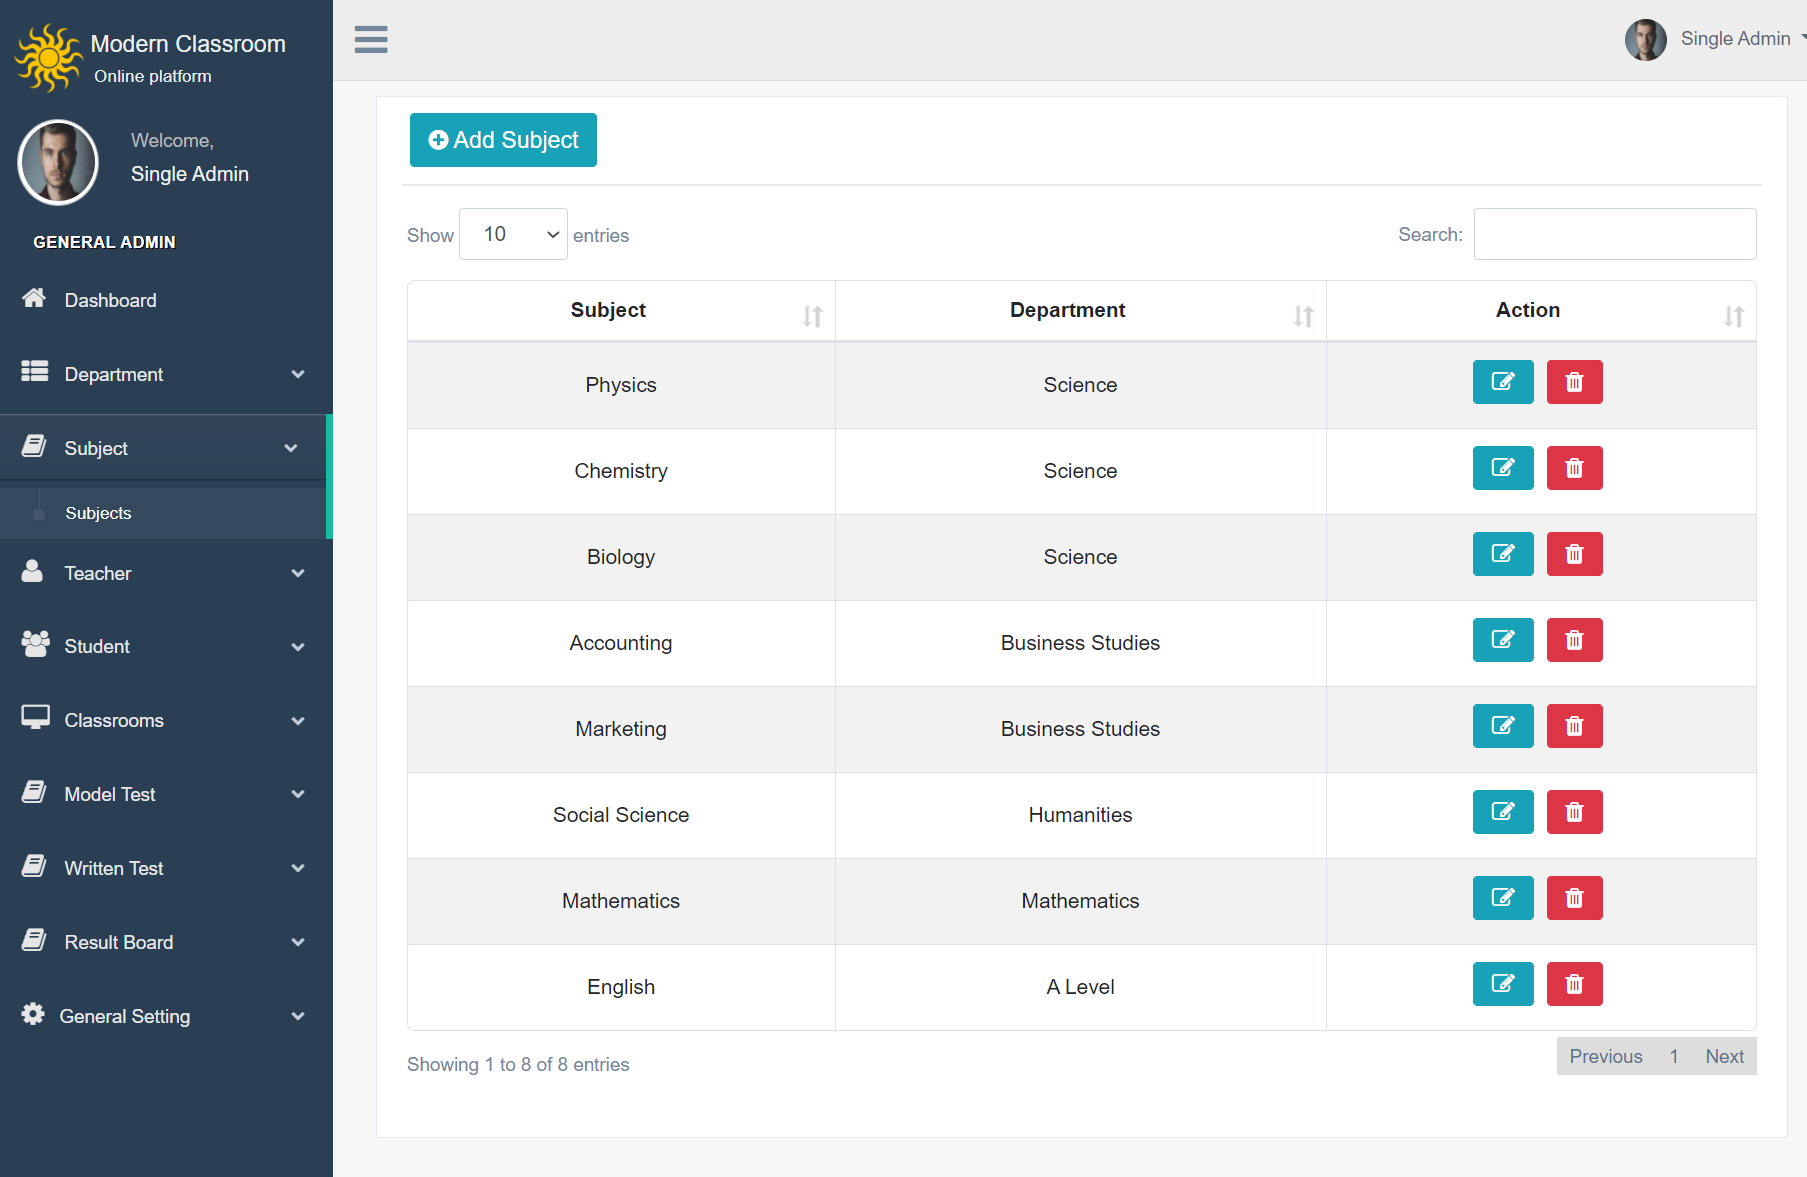
- Subject - for all the information related to student like student subjects
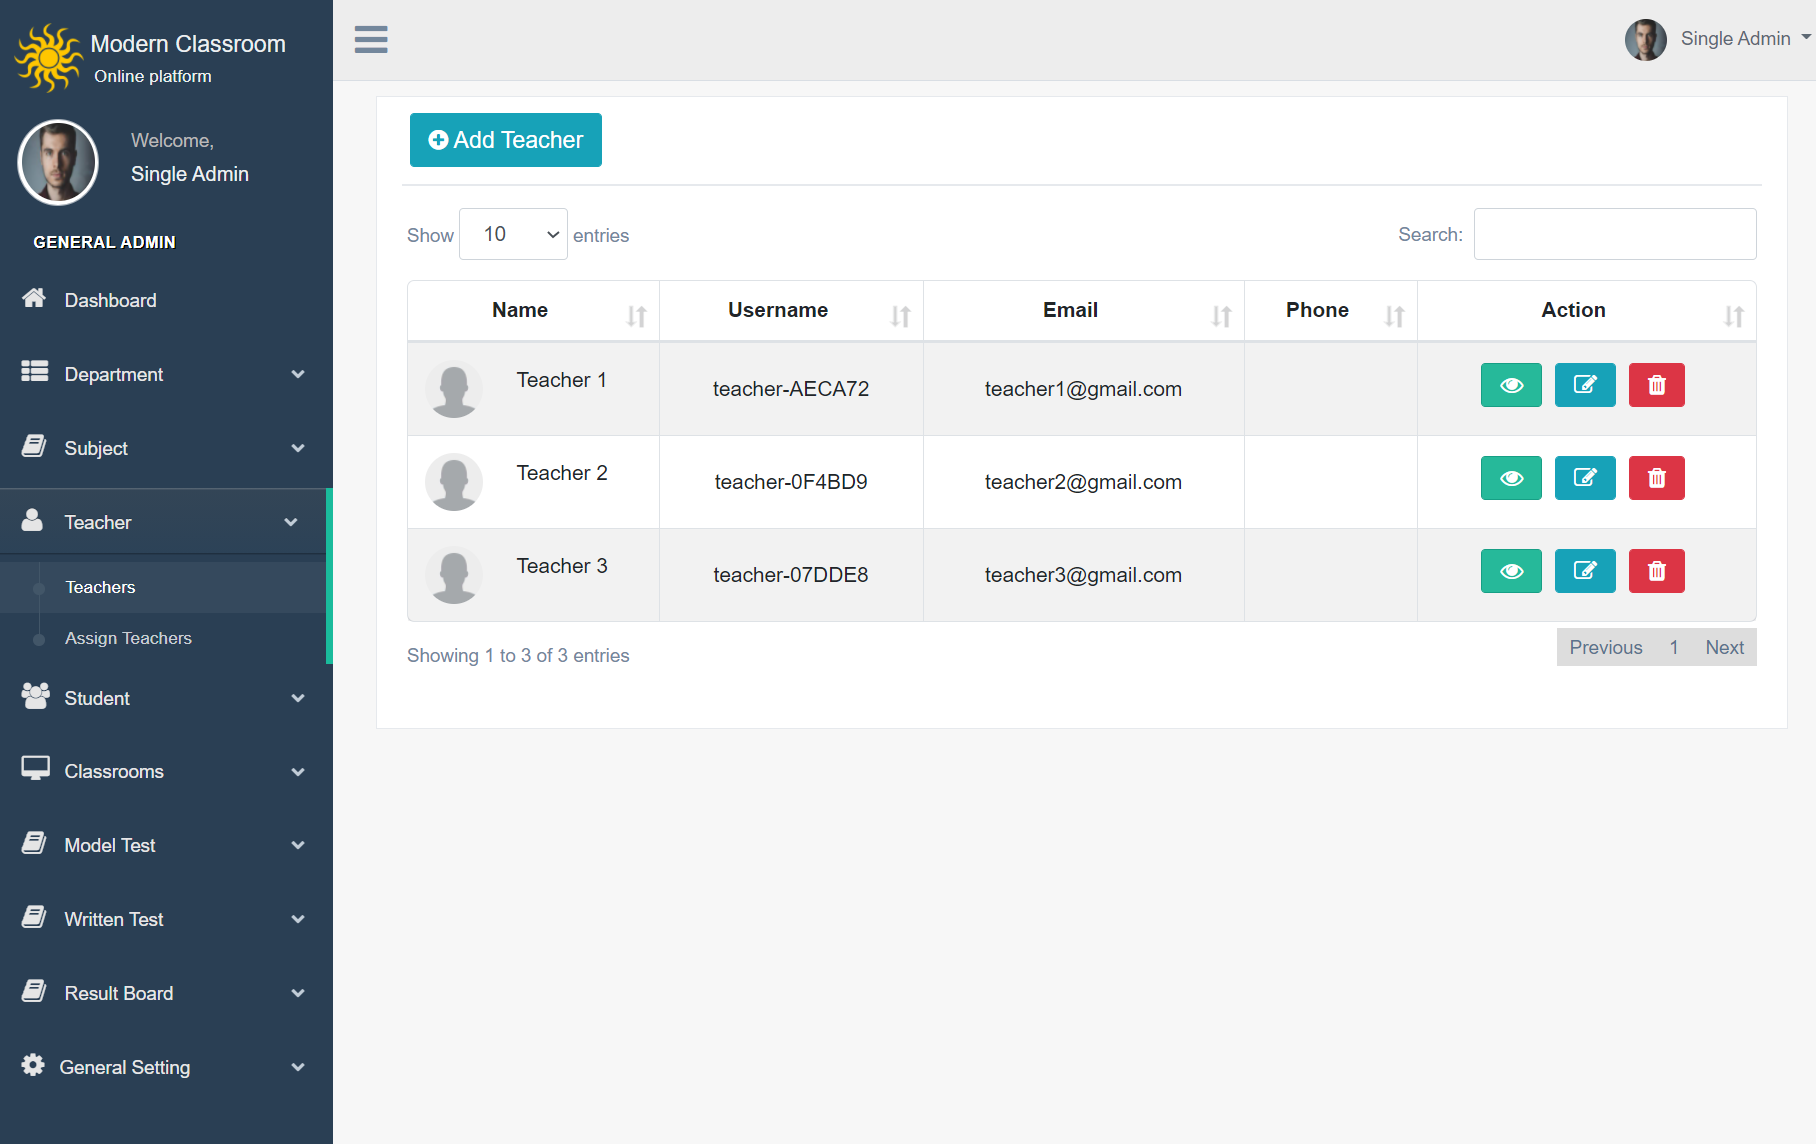
- Teacher Information - for all the information related to teacher like add teacher, profile assign subject for teacher
- Assign Teacher - for all the details related to student fees collection, fees master creation, fees dues, fees reports
- Student Information - for all the details related to student like student add, profile, update
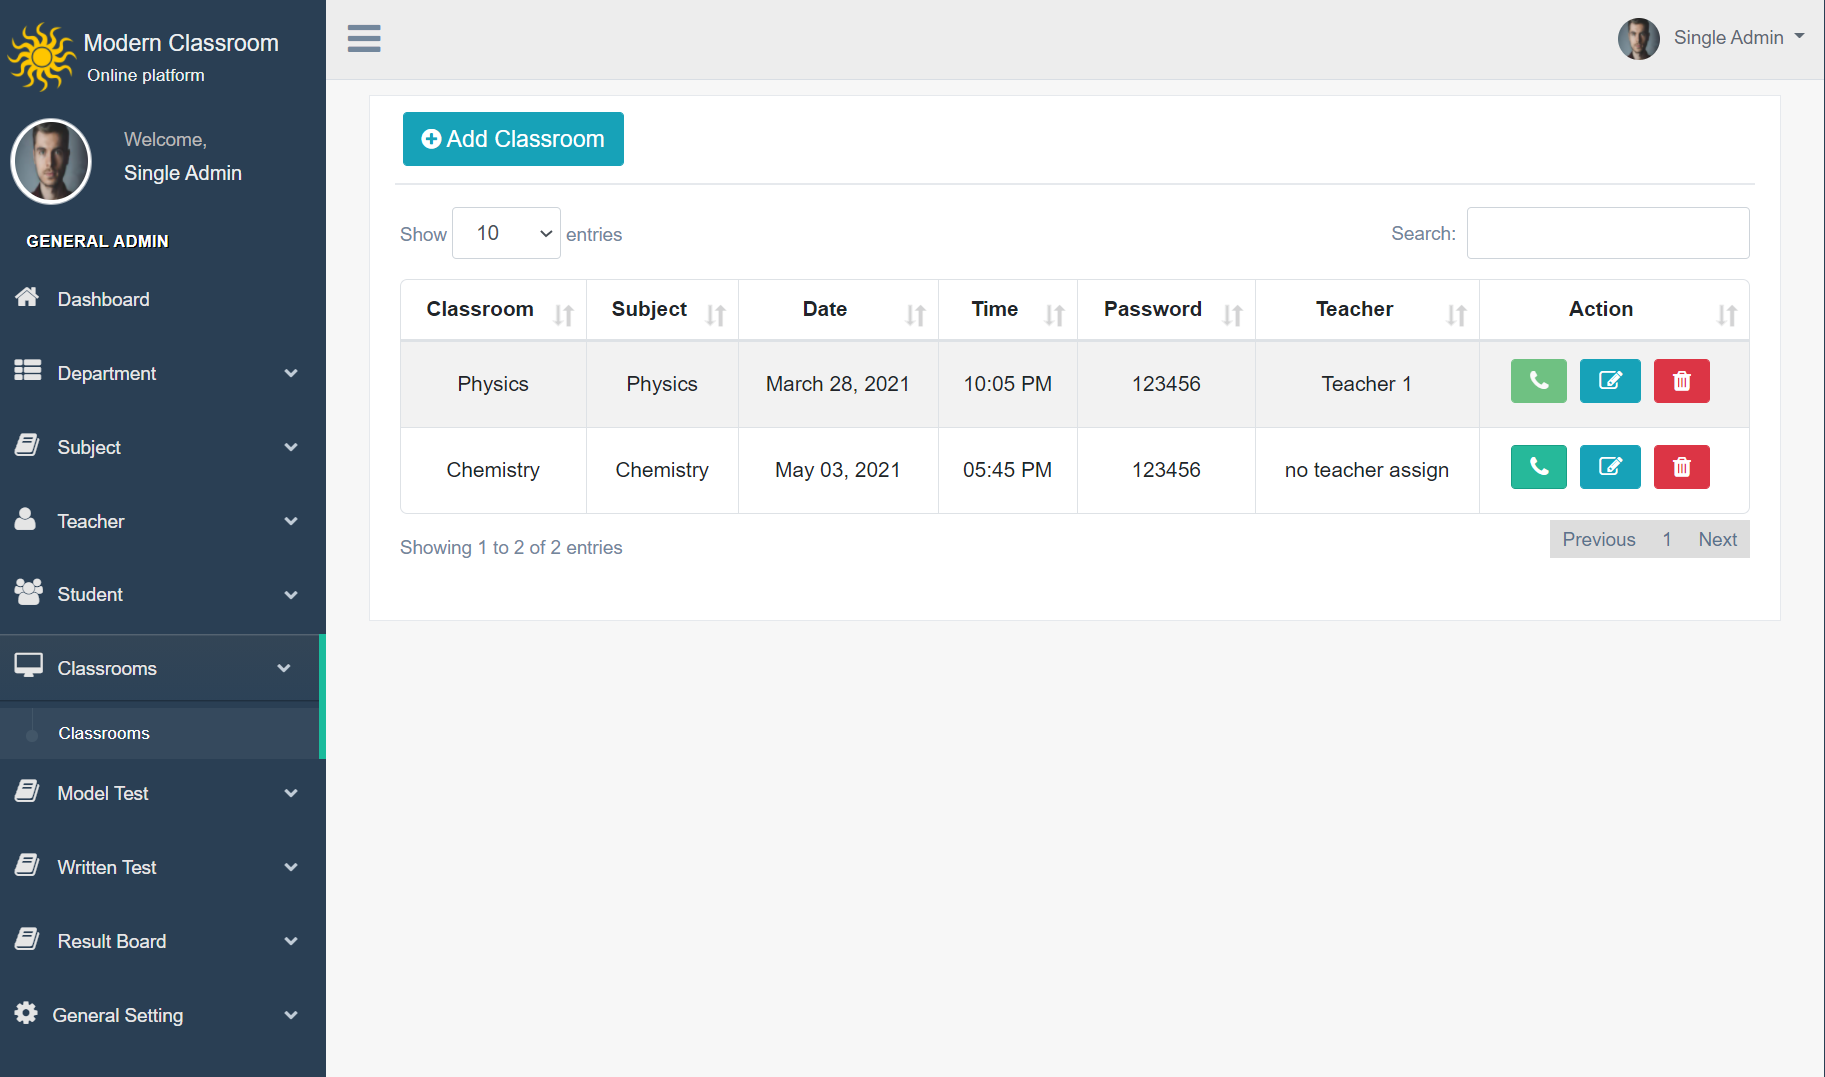
- Classroom - for all the details related to Classroom can be manage here like add new live classroom, update time, delete classroom
- Model Test - for managing student Model Test like add model test, update or delete test
- Written Test - for managing student Written Test like add written test, update or delete test
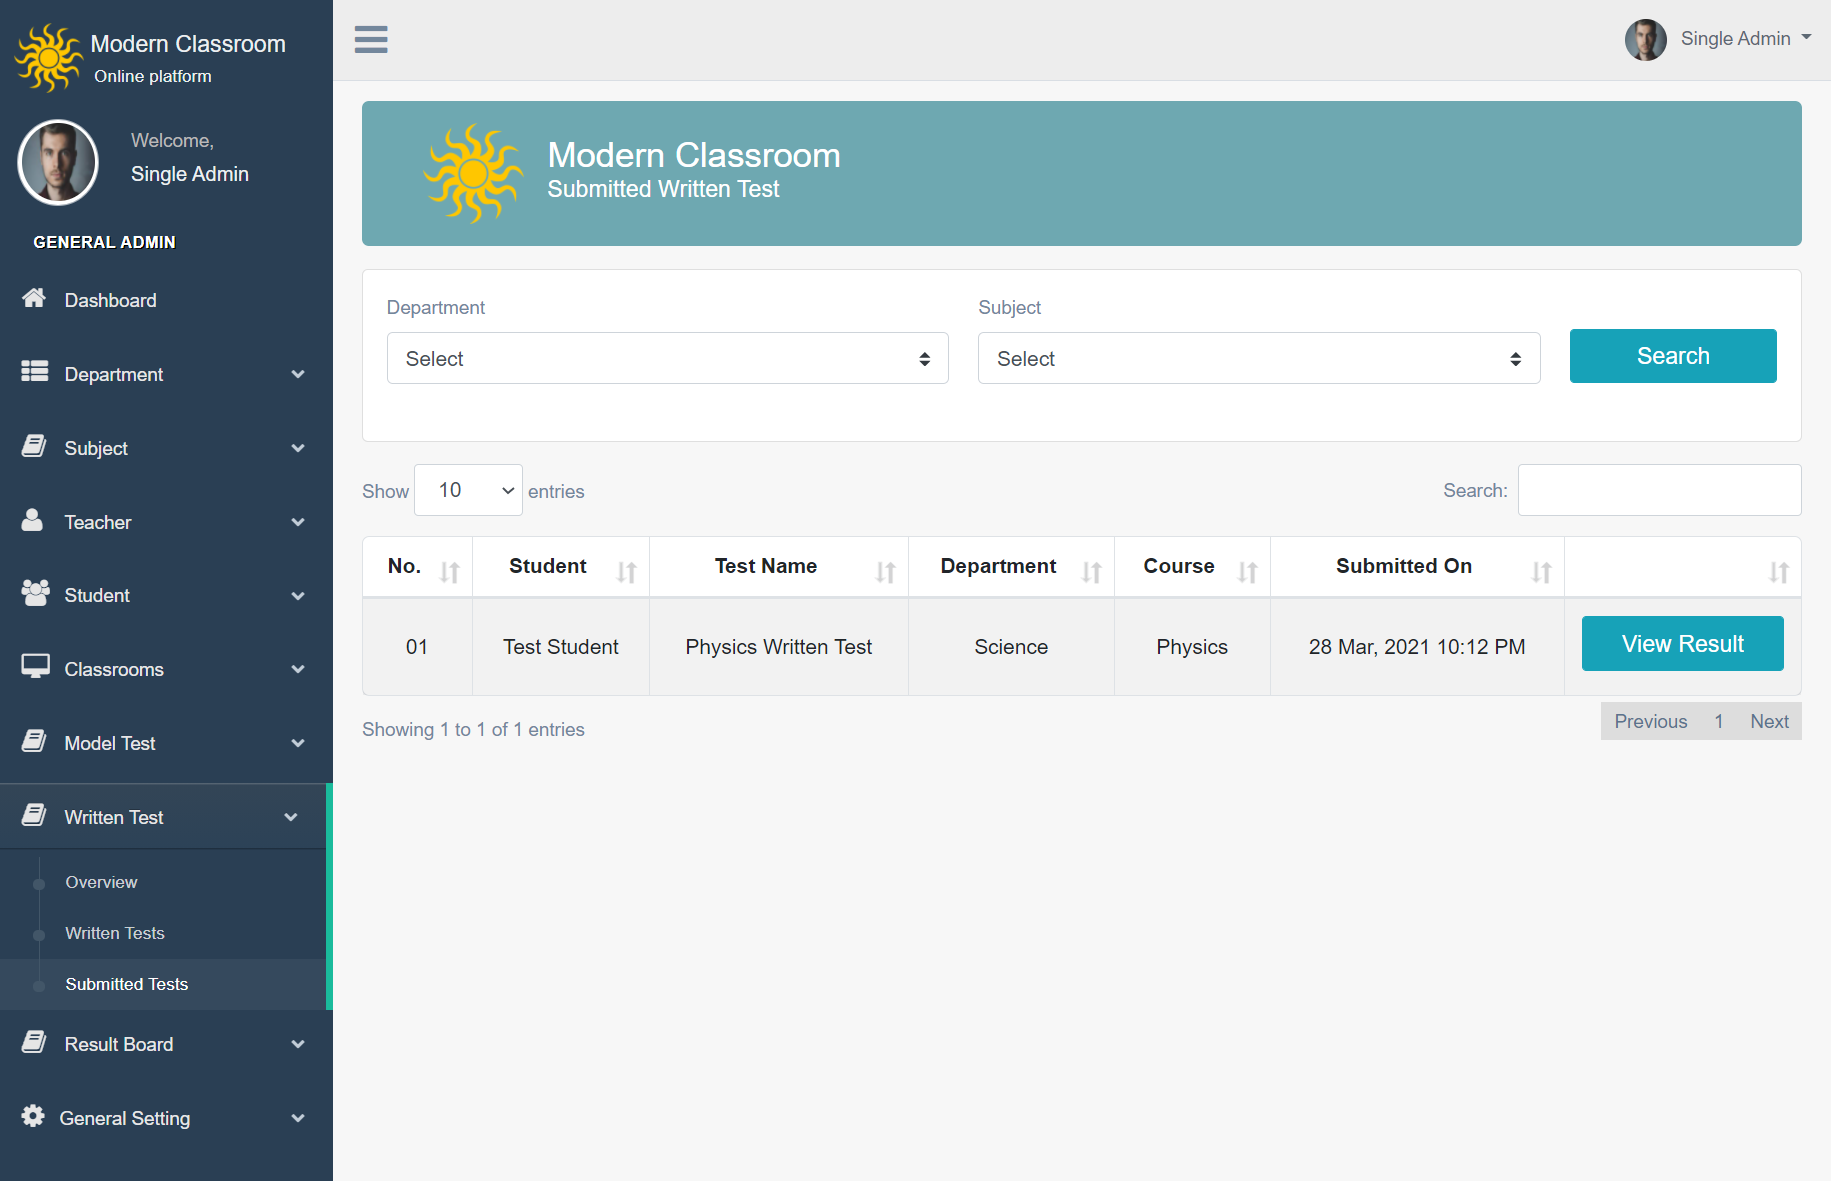
- Submitted Test Evaluation - for managing all the submitted test, list of student list, add evaluation
- Result Board - for managing Student Result, model test result, written test result, final result
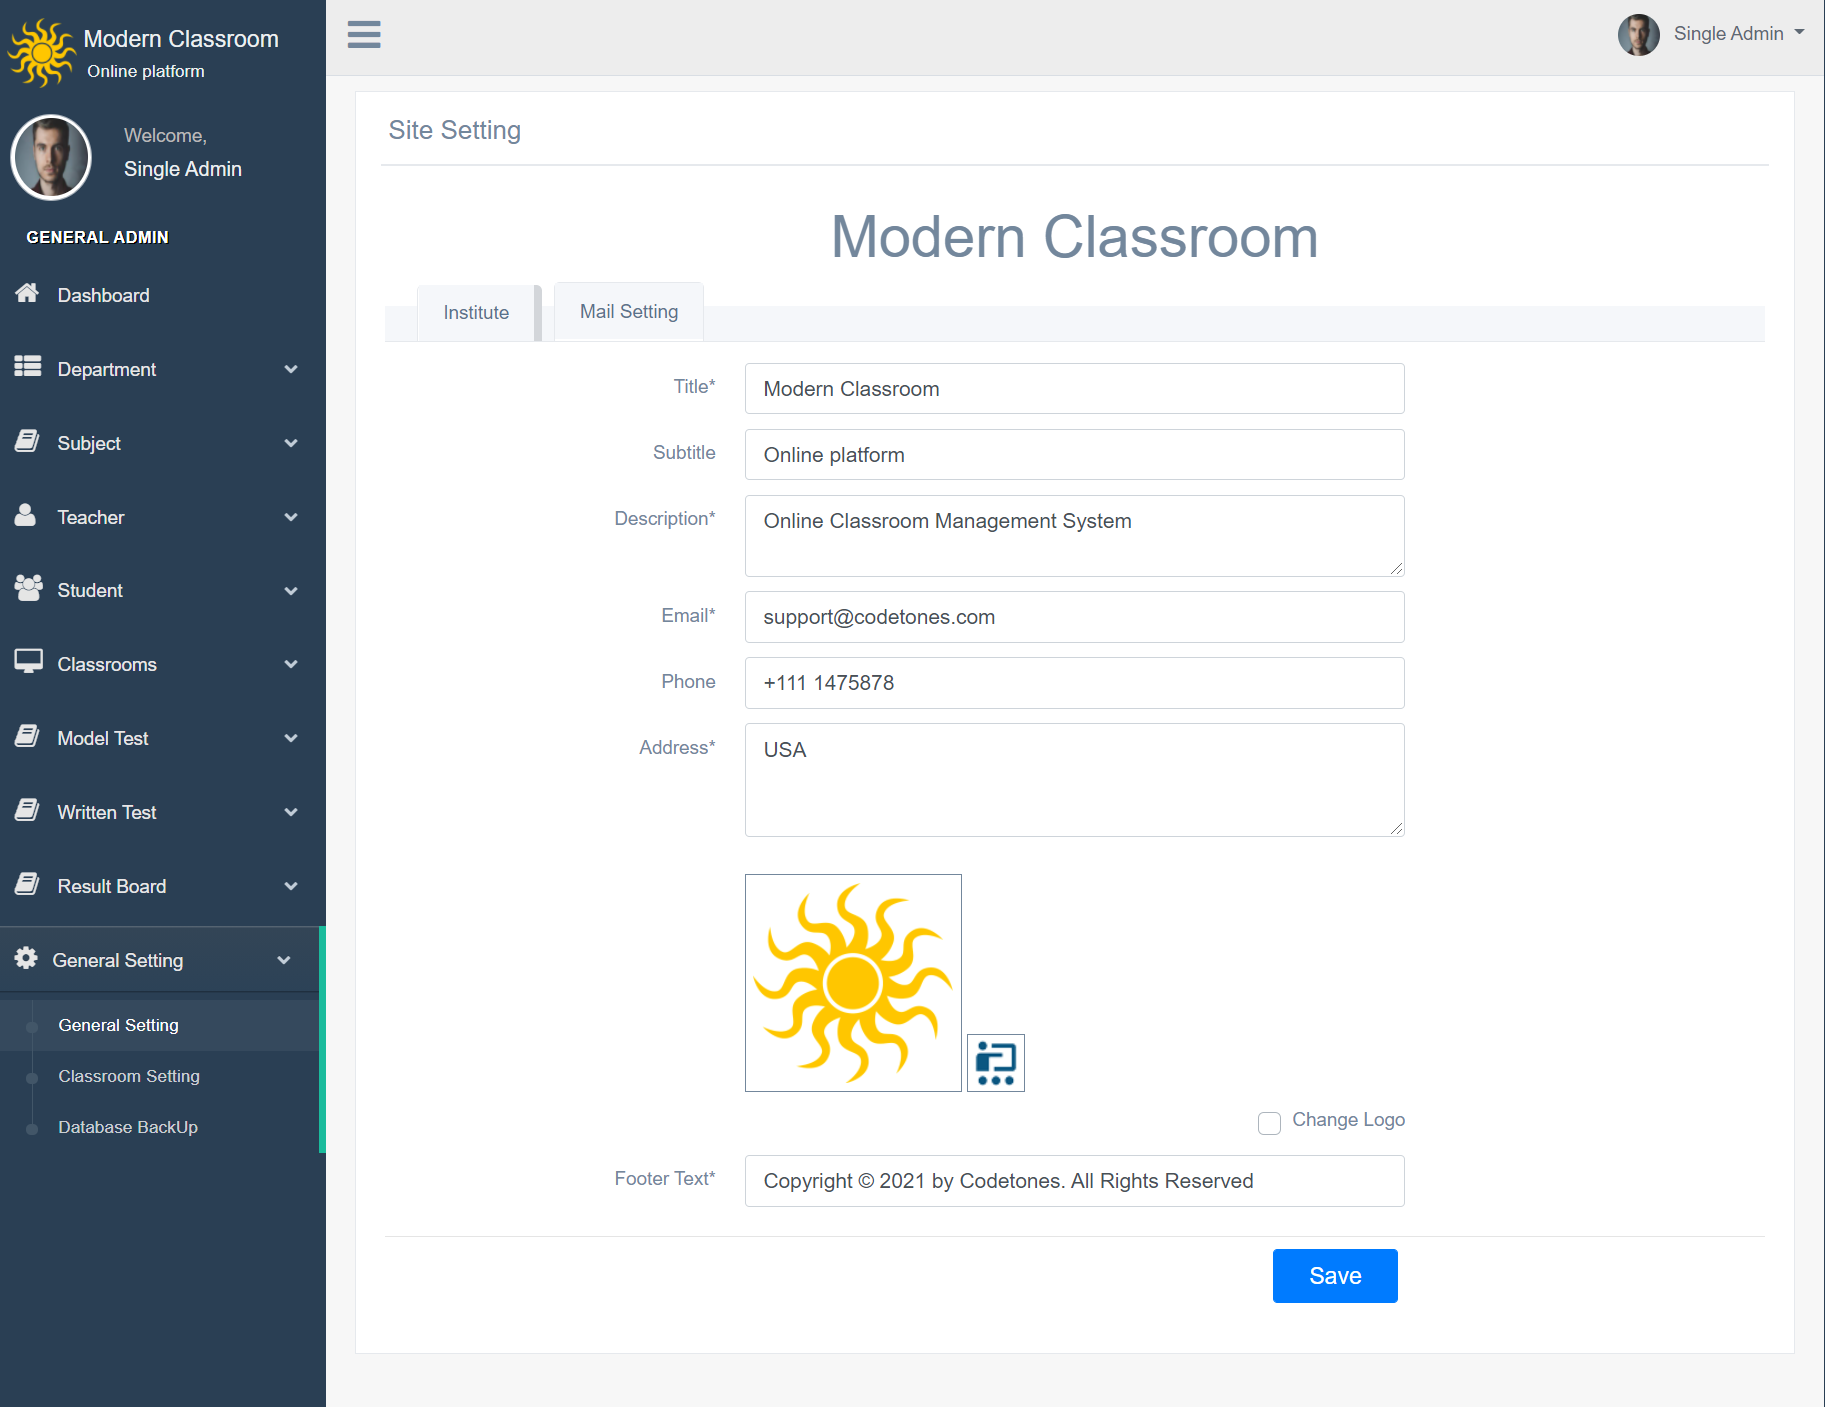
- General Setting - configure General Setting for Modern Classroom here for different settings like institute title, subtitle, logo, favicon
- Classroom Setting - configure Classroom Setting for Modern Classroom here you can set your own jitsi meet server for live video conferences
- Database Backup - Manage all the database backup of your Classroom database.
Steps to setup your Classroom -
- In the Admin panel go to System Settings > General Setting in upper right side click on Edit button to update your Classroom data
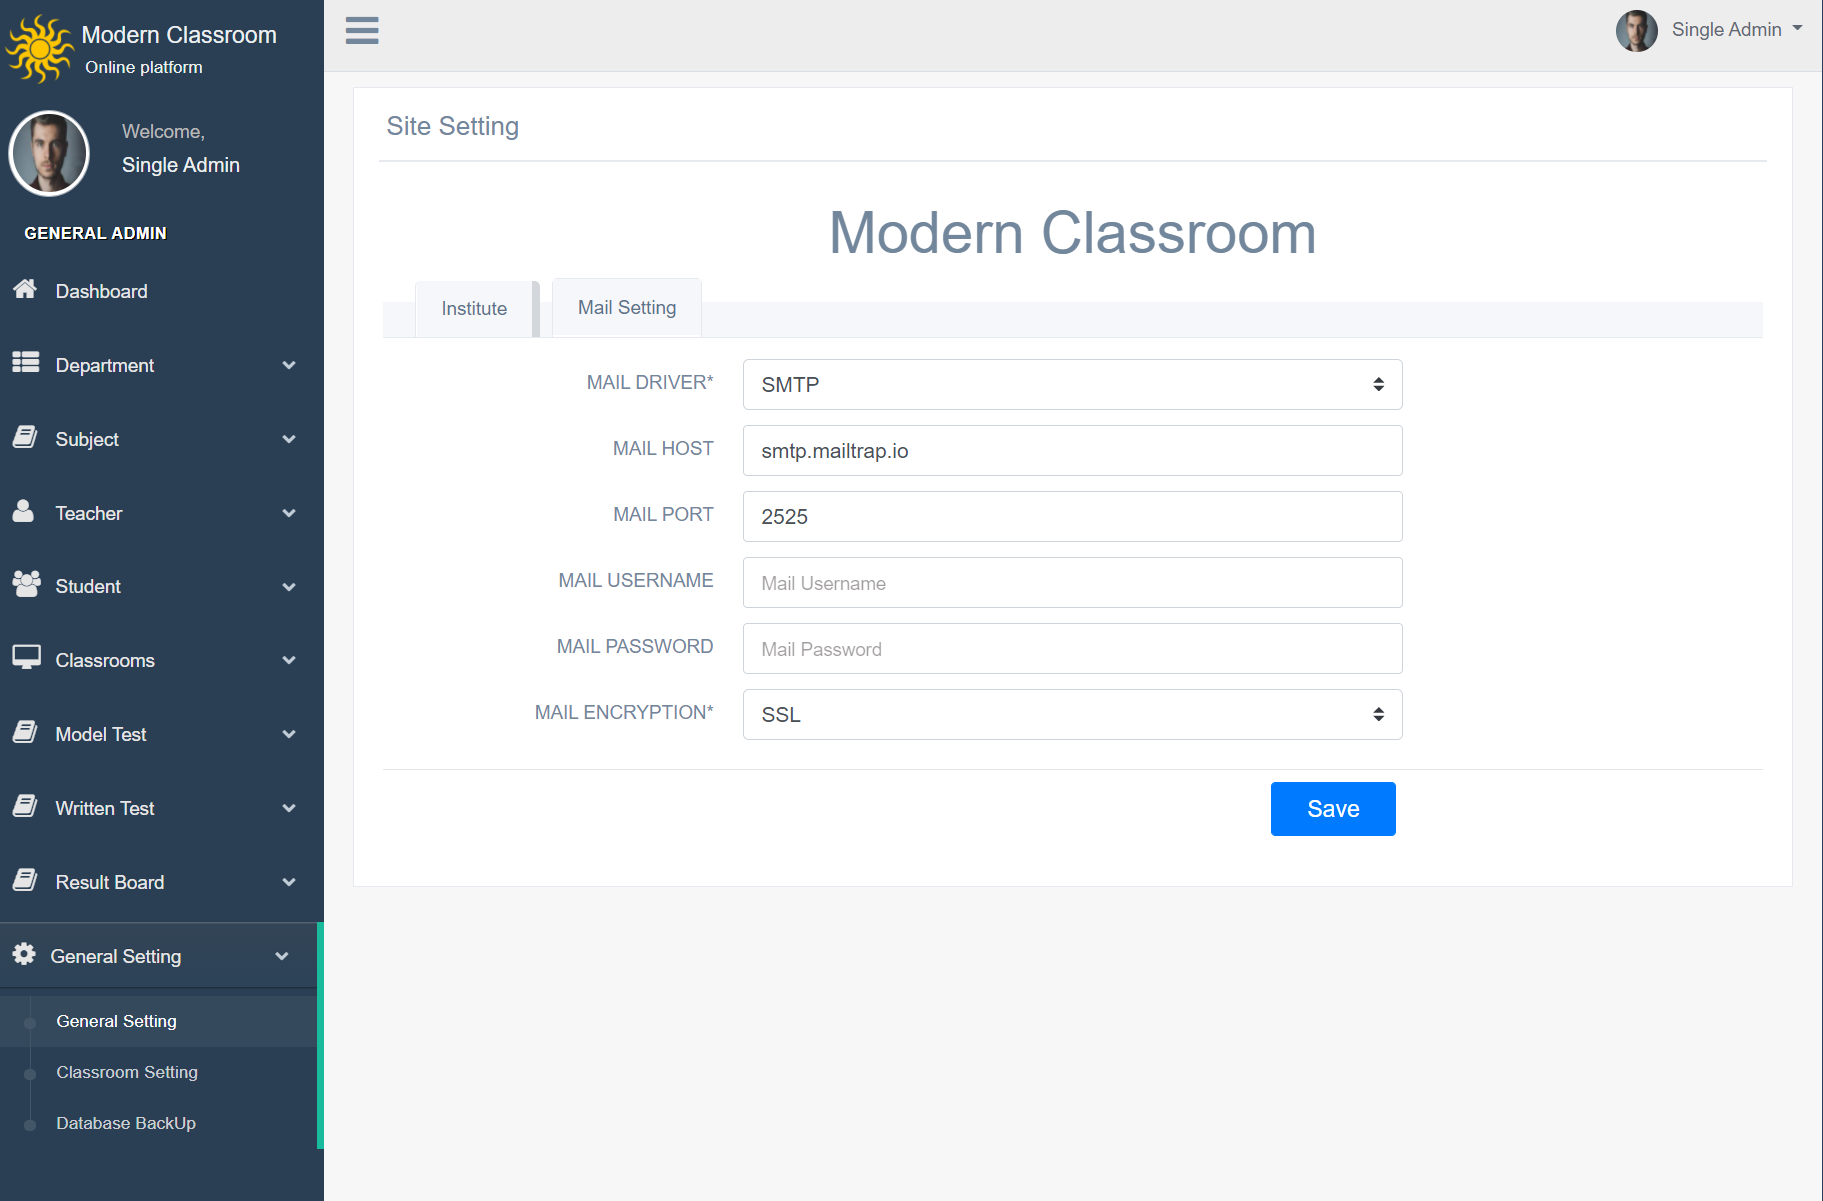
Email Setting- Go to Settings > General Setting To send emails from Modern Classroom you need to configure Email Setting. Currently Email is available for SendMail and SMTP delivery engine.
Select SendMail email engine to send emails through your Hosting SendMail program.
Select SMTP email engine to send email using any SMTP relay. You can use gmail smtp relay also by adding any gmail account details but your gmail account also seto for less secure device so SMTP engine can send email using gmail smtp relay.
Enter SMTP Username, SMTP Password, SMTP Server SMTP Port, SMTP Security and finally click on Save button to save your settings.
- Great! you have completed your Modern Classroom setup. Now further we will understand working of all the modules 1 by 1 in detail.
Courses add institutual Courses base on department.
Login your Admin Dashbroad- Go to Teacher Management > Add Teacher add teacher details
This module has 2 sections -
- Add Teacher
- Assign Subject For Teacher
Teachers Details Here you can get all the teacher list and their login details.
First we will add new Teacher then assign Teachers for subject and you can calculate Teacher Attendence
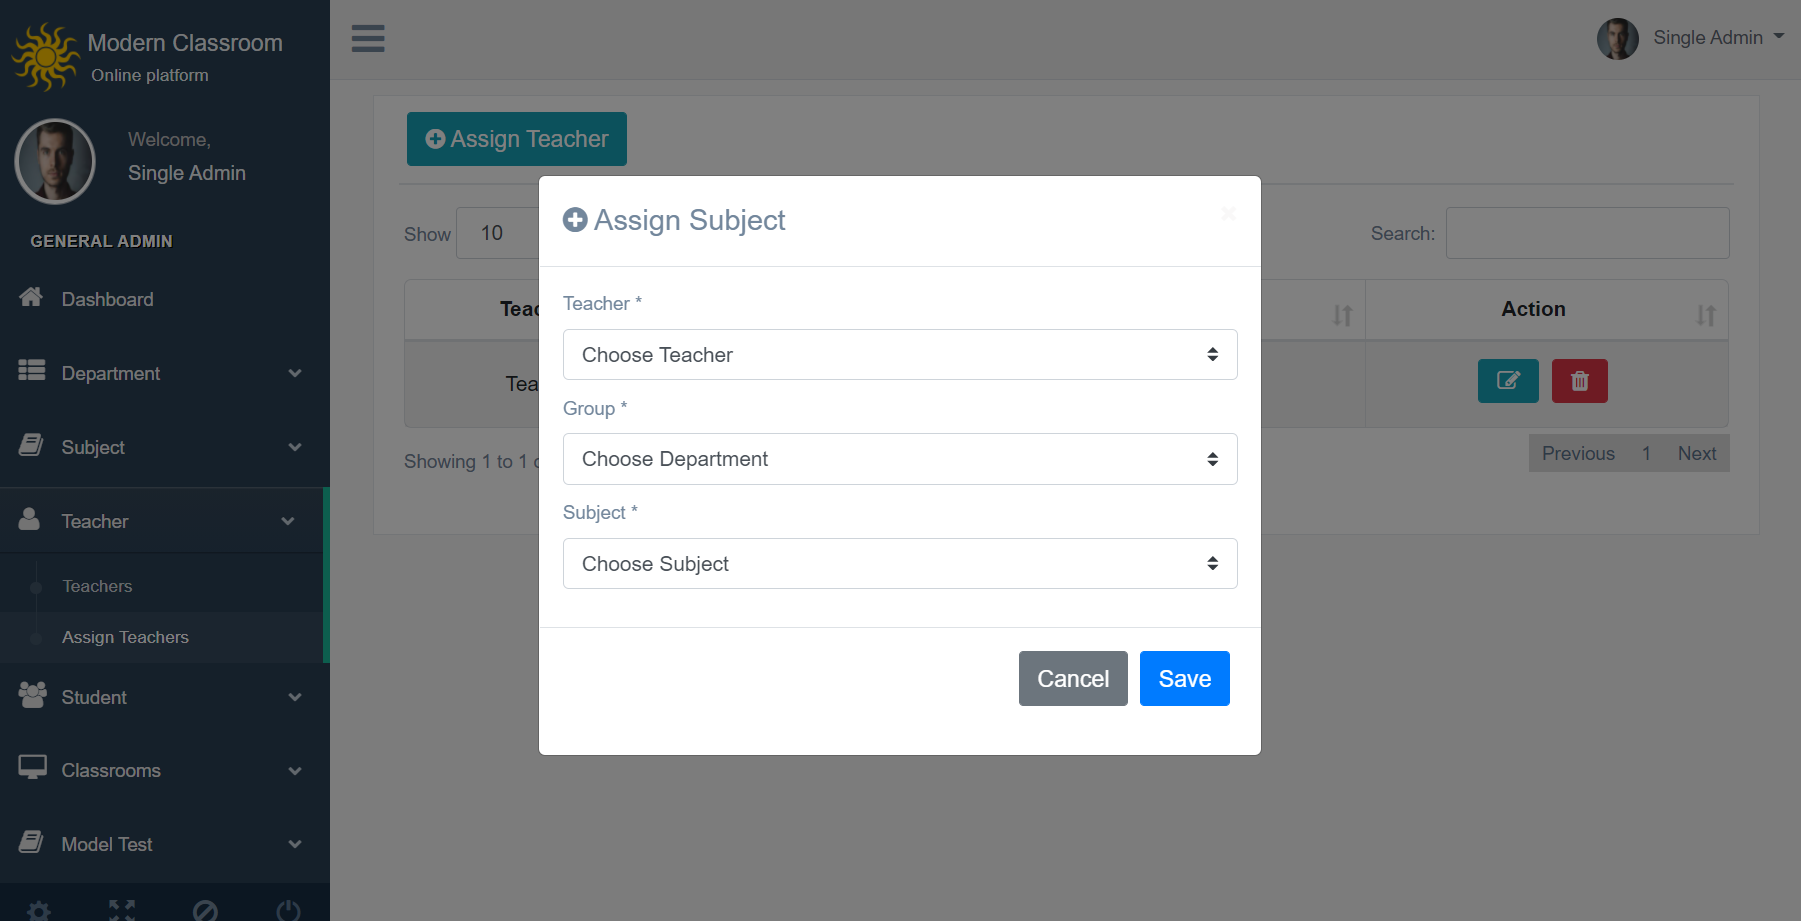
Assign Teacher Here you can set subject for teachers.
For assigning subjects to teacher Select Teacher and Subject now below a row has been open for selecting subject and teacher for this subject.
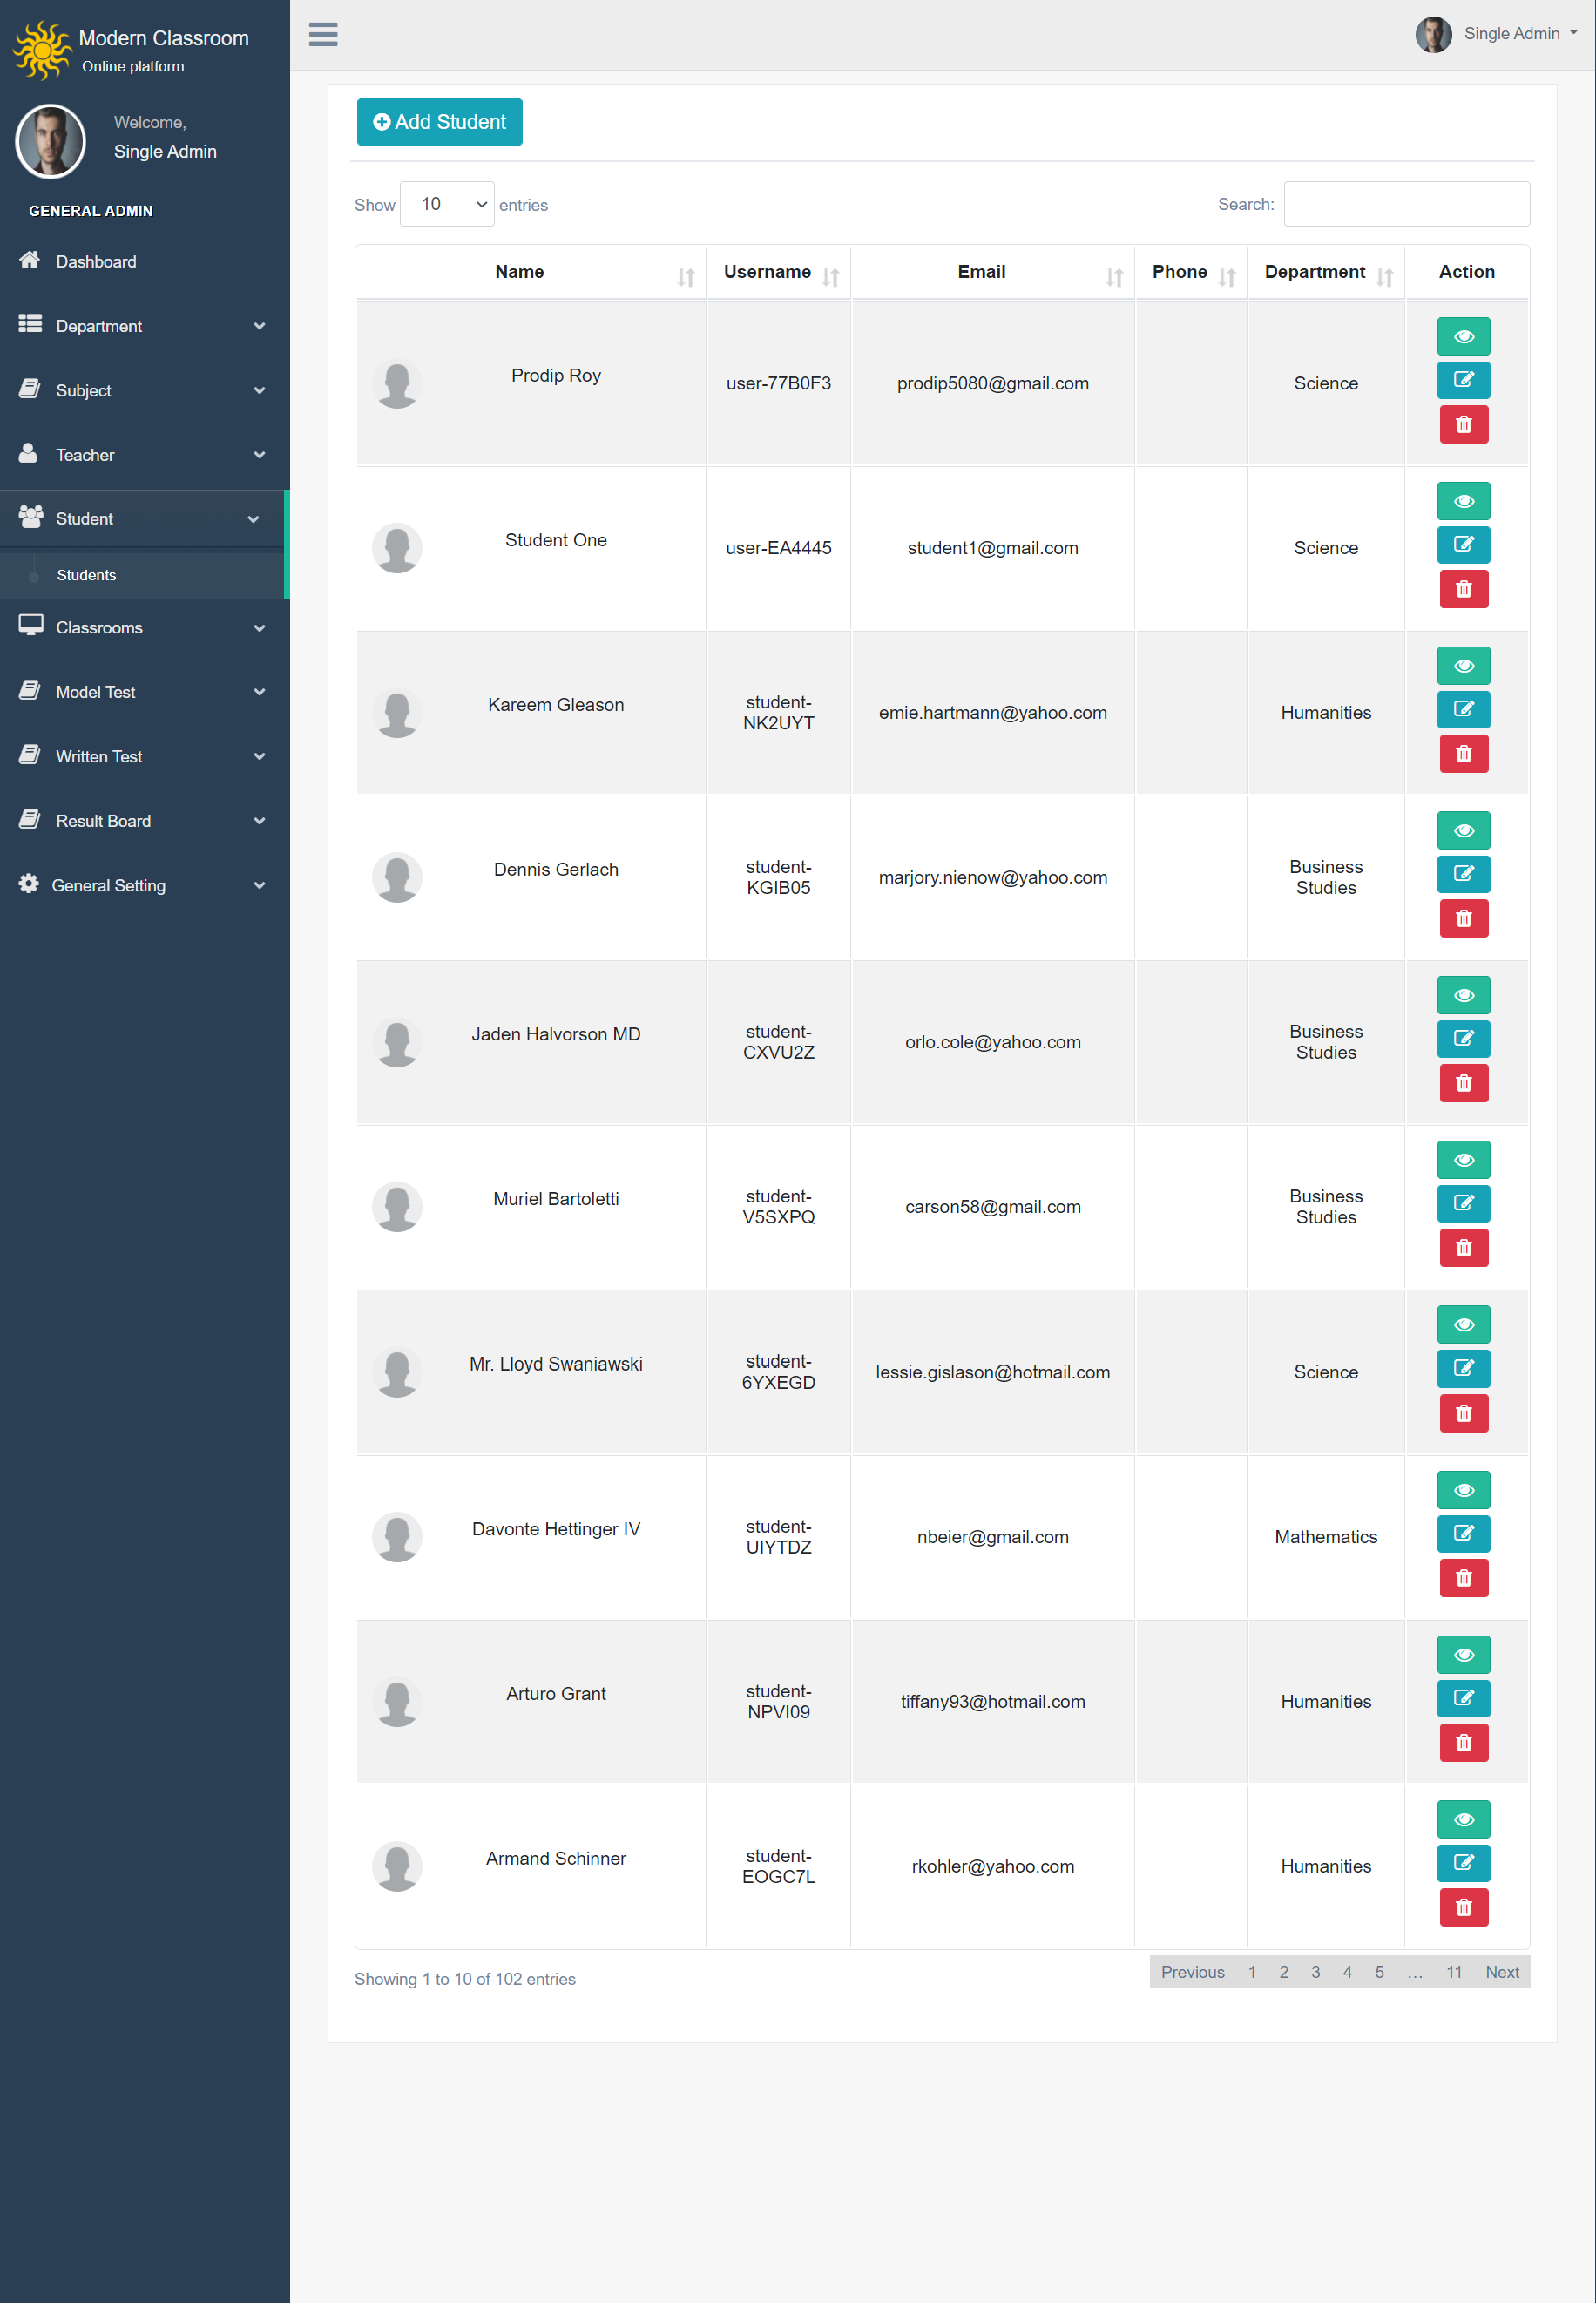
Student List Student Information Here you get student list .Here you can see every student informantion.
Live ClassesList of live conference.
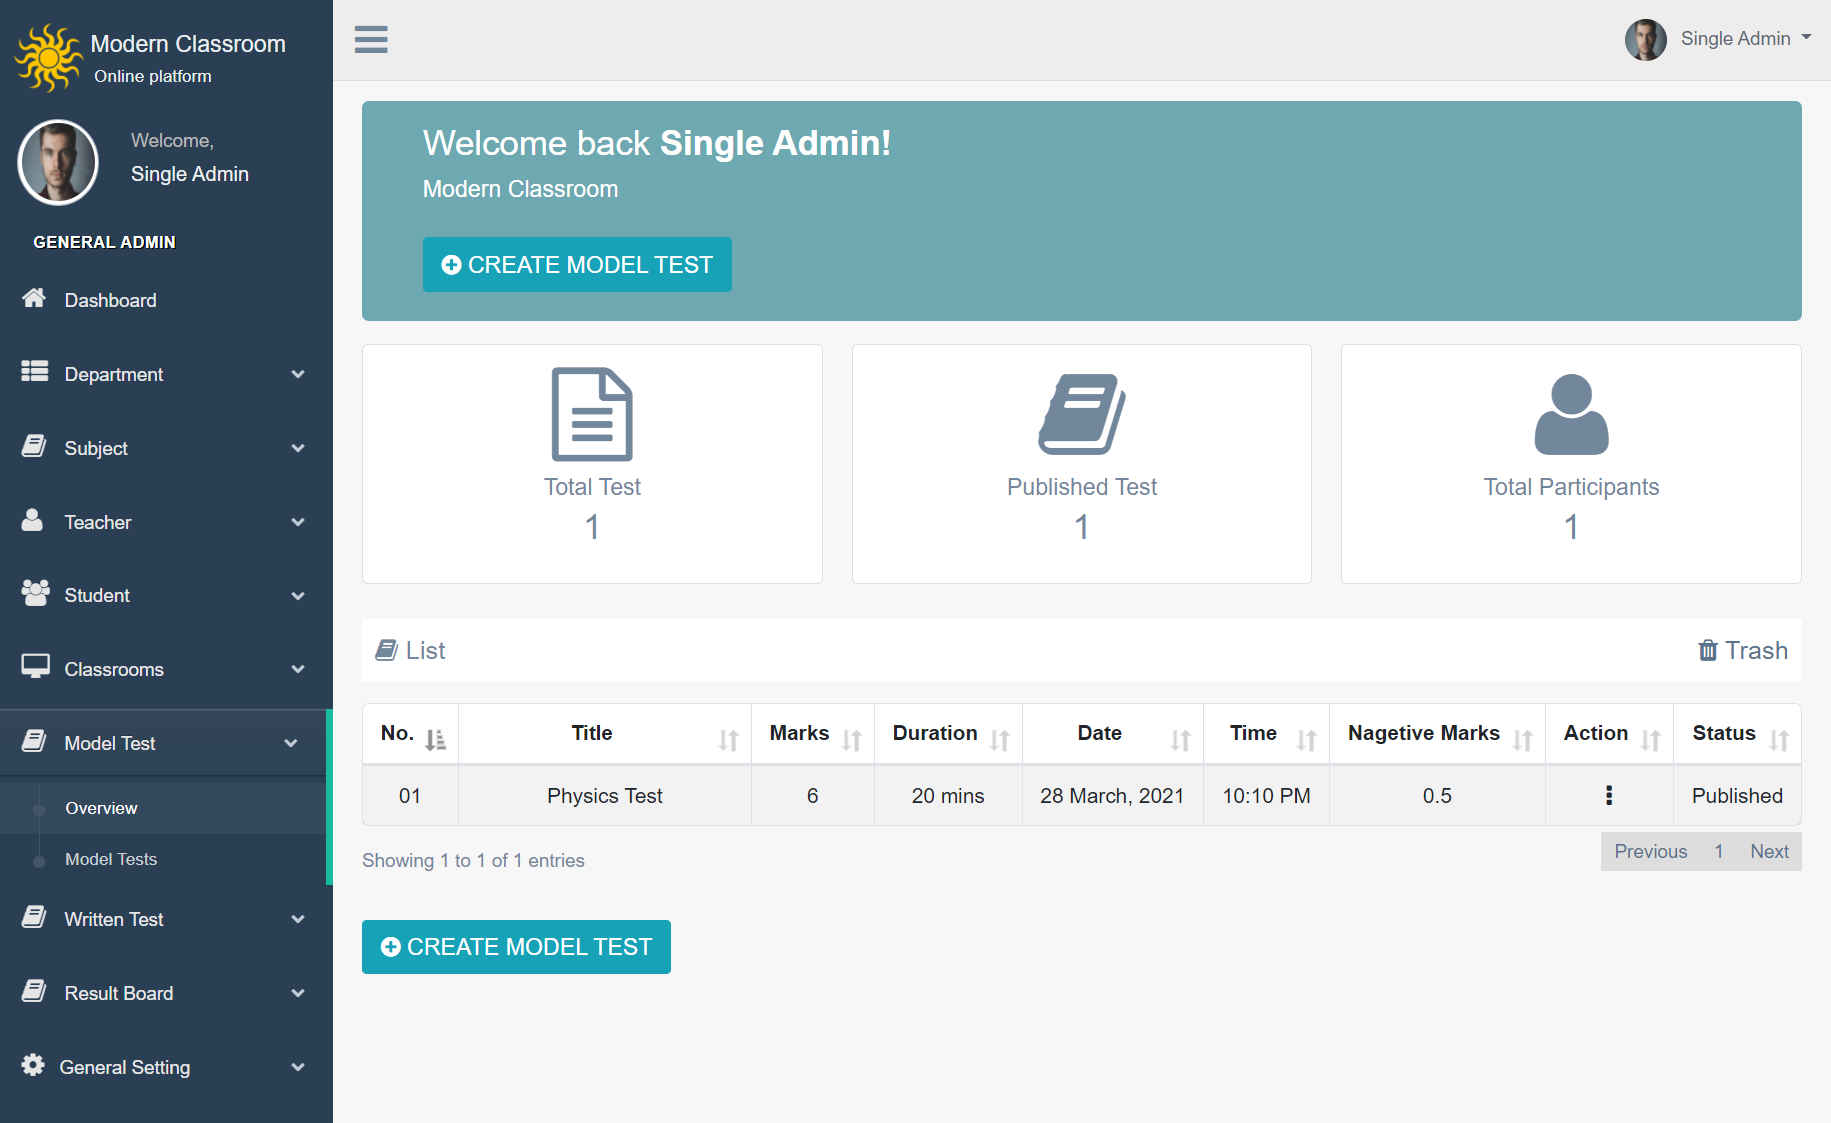
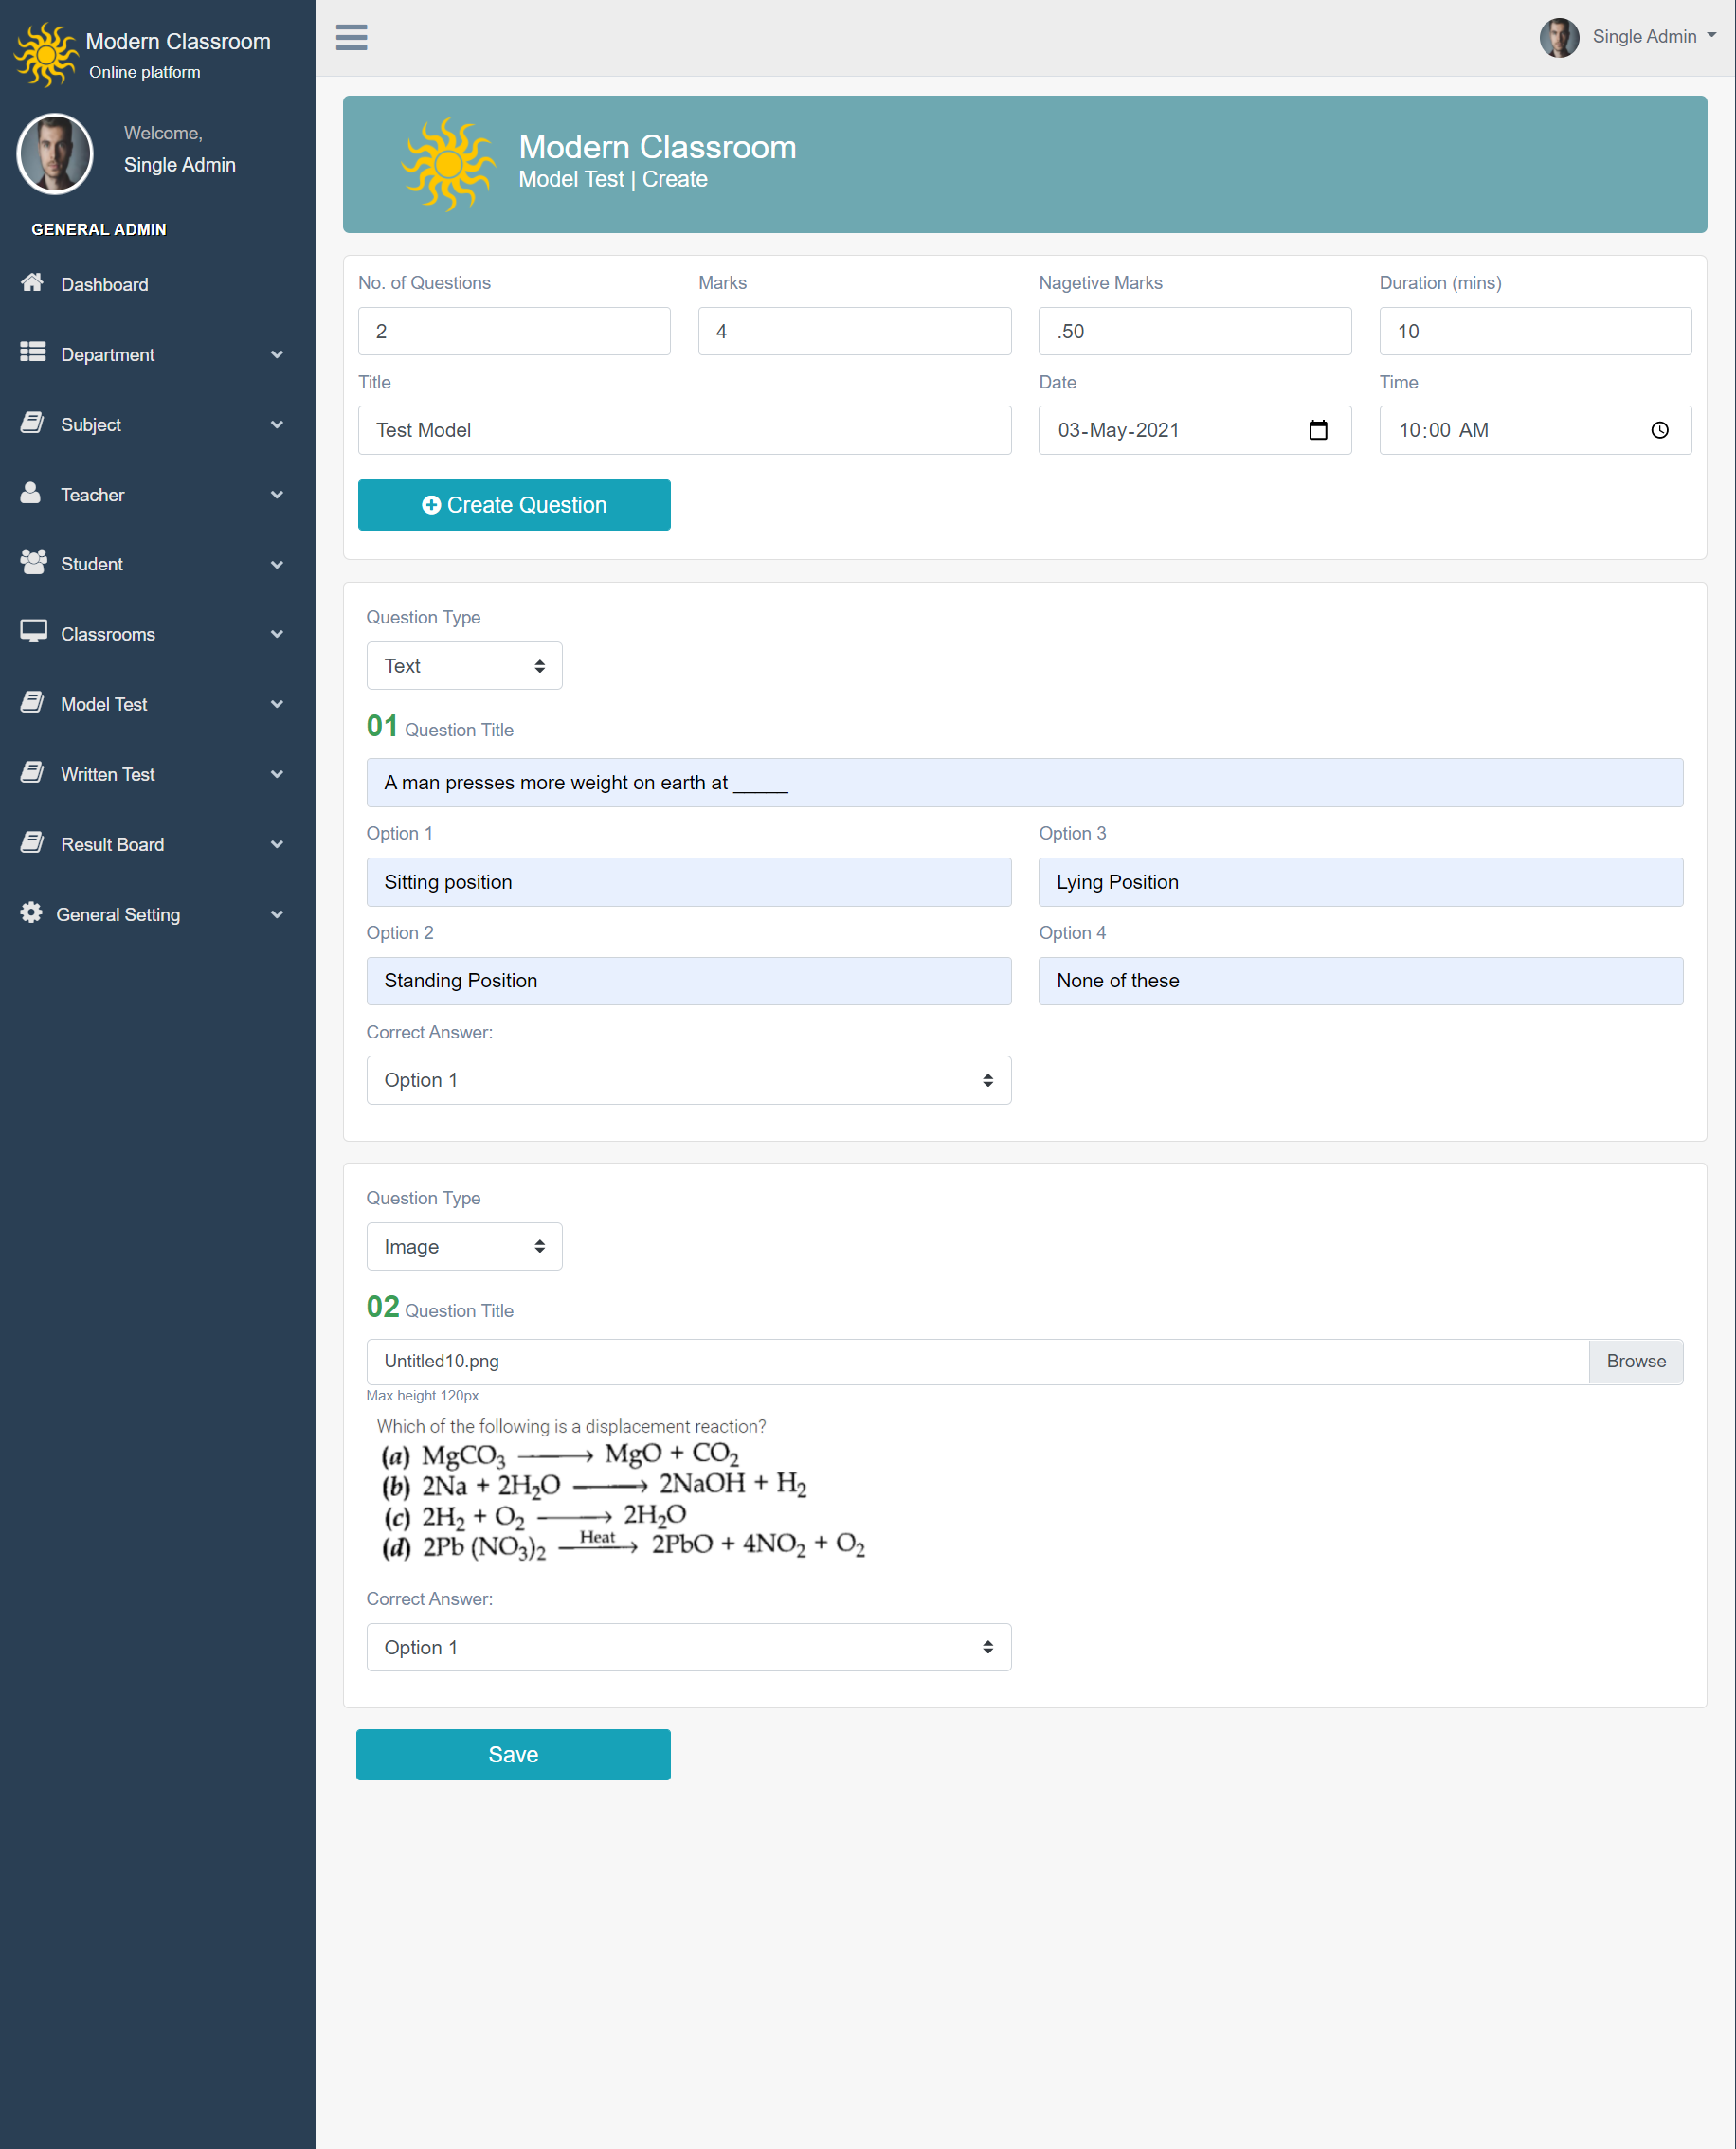
Model Test List of Model Test. Admin can create New Model test. Admin can delete or restore or permanently delete Model test
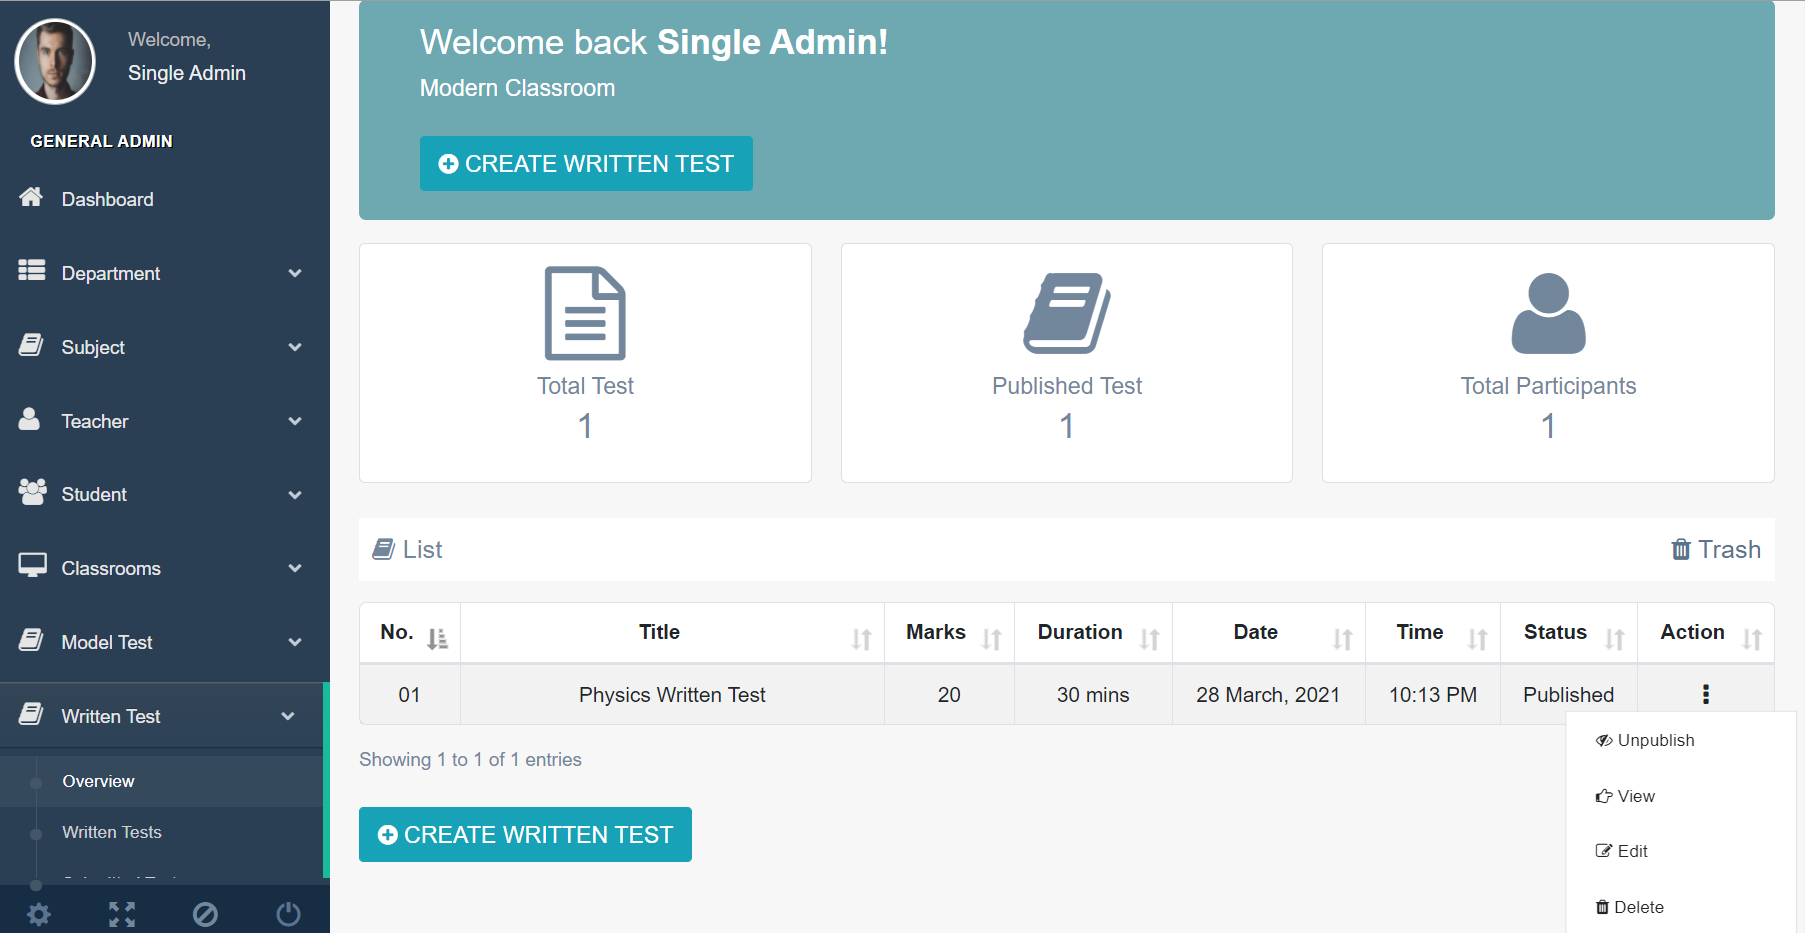
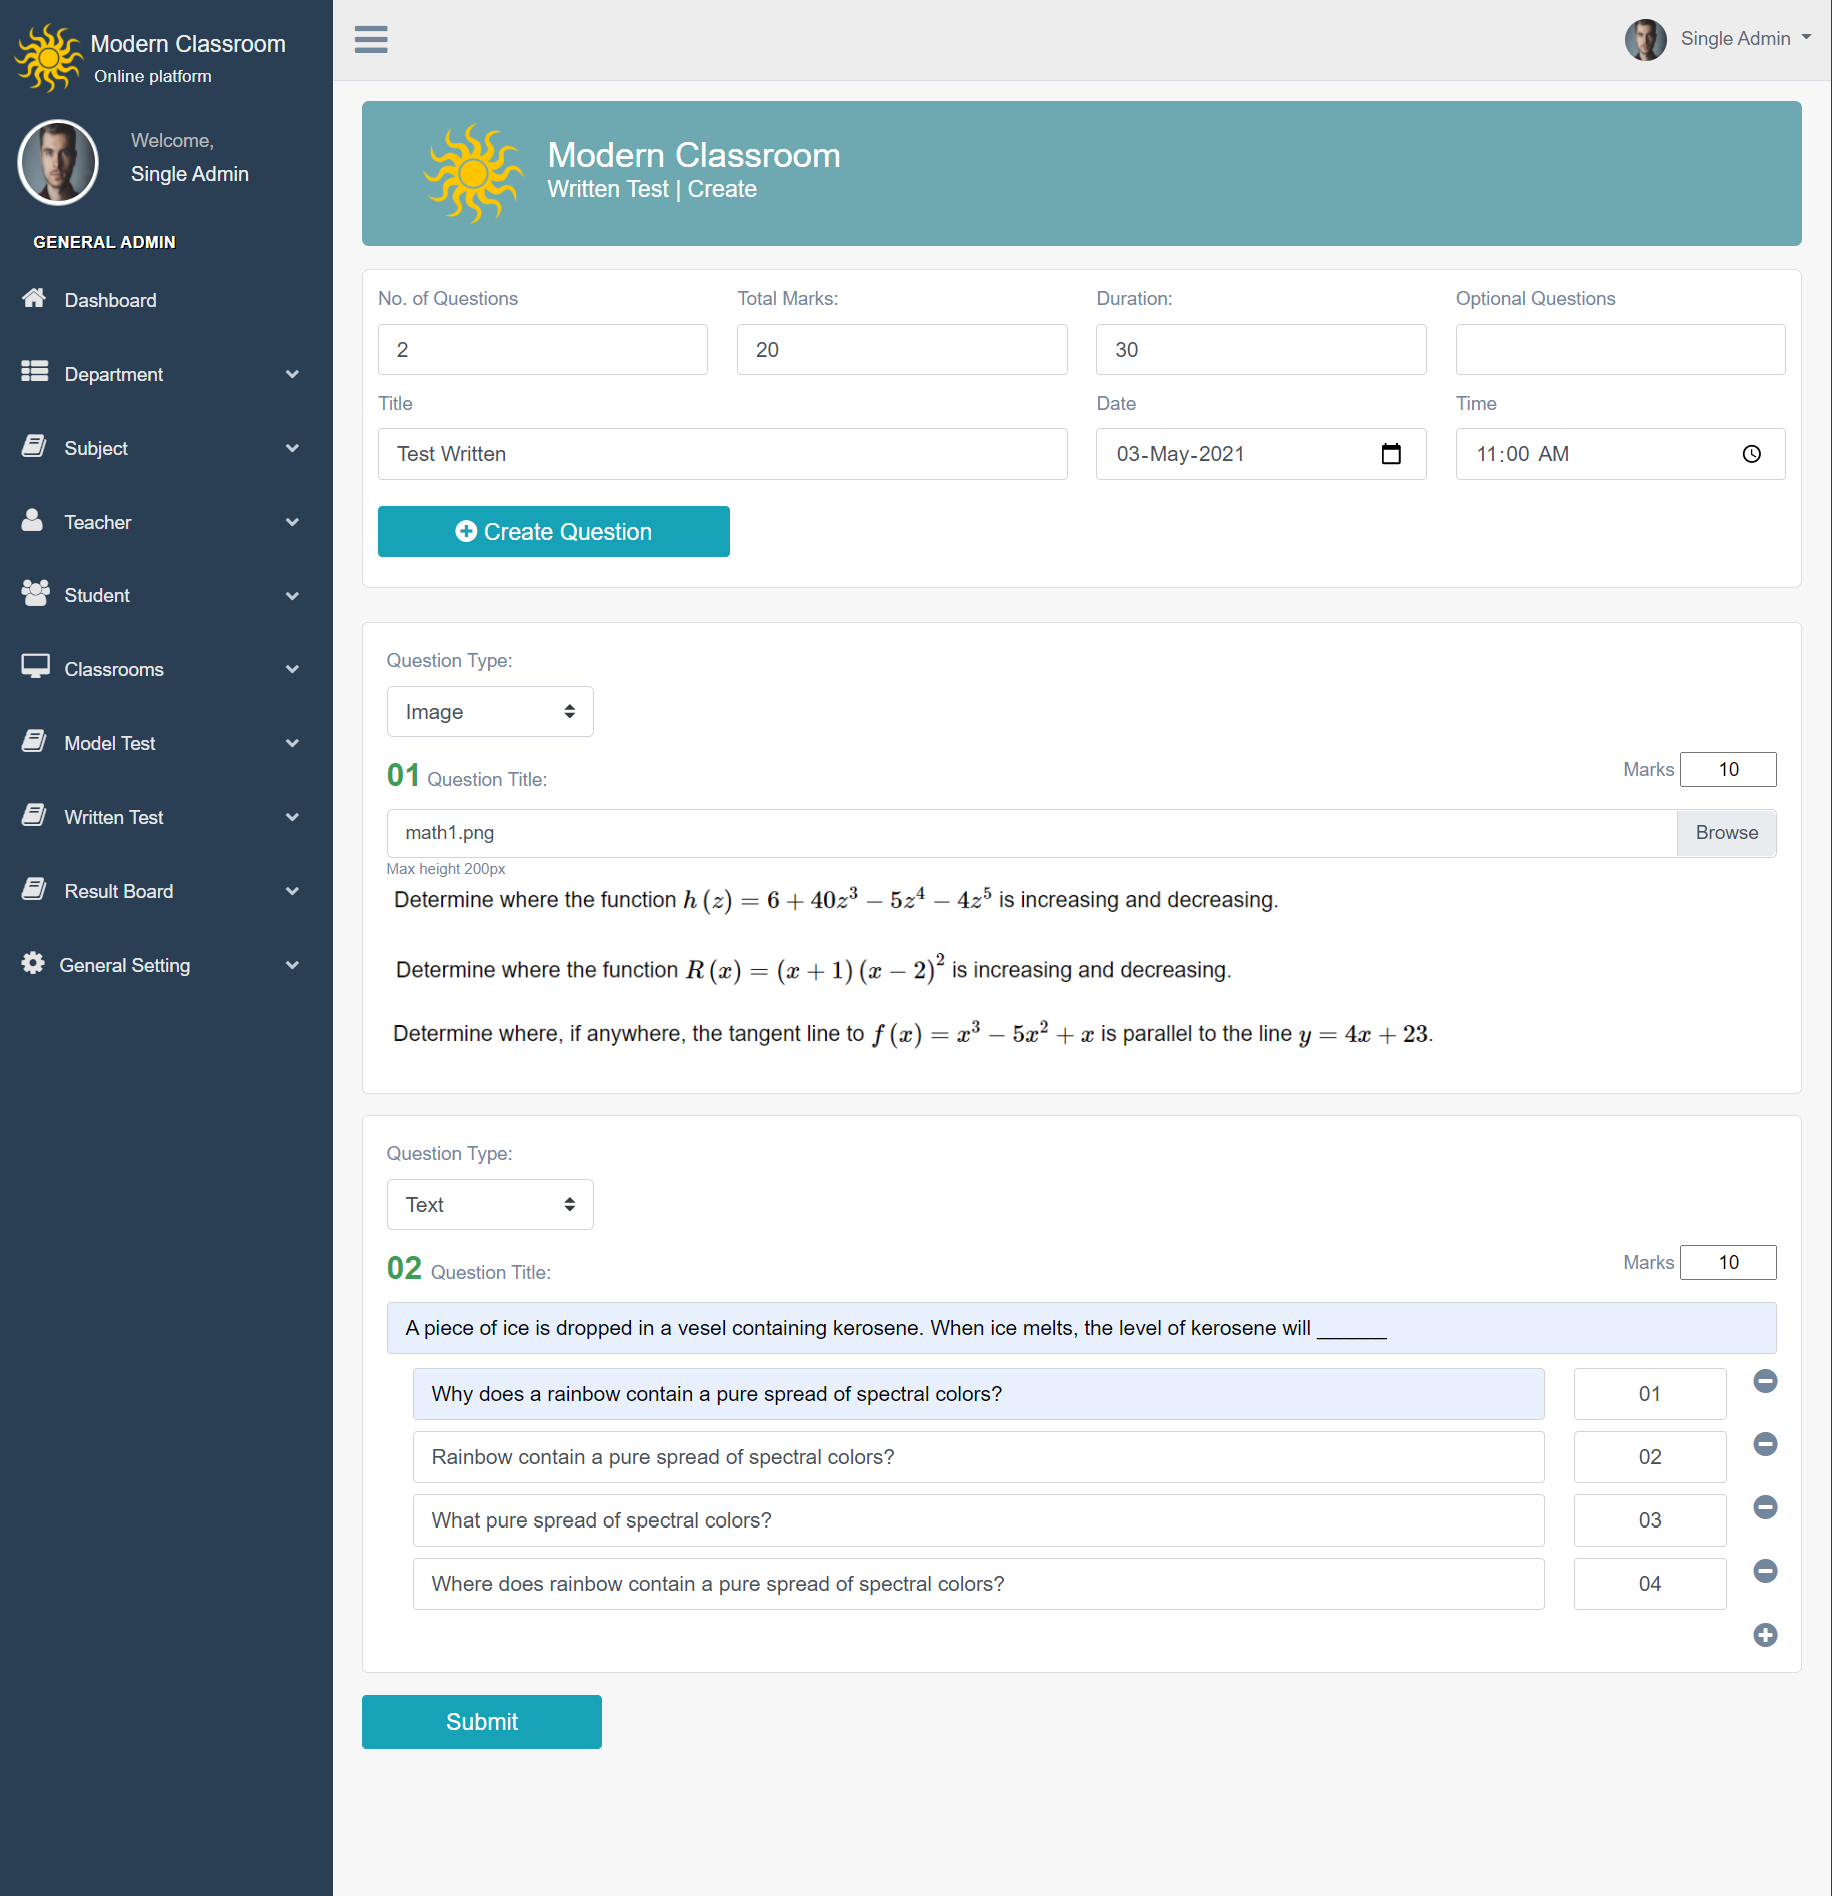
Written Test List of Written test that create for institute.Admin can create or update Written Test . Admin can delete or restore or permanently delete Model test.
Result Admin can view Student result and download result sheets
Backup Admin can create database backup anytime
Teacher Information
- Login your Teacher Dashbroad
User can login with Username or Email
Teacher can watch his classes and assigned subject list and their activities here.
Lectures
List of lectures that created by this teacher.
Assignment Teacher can view list to assignment created by him/her. Teacher can create, update or delete assignment here
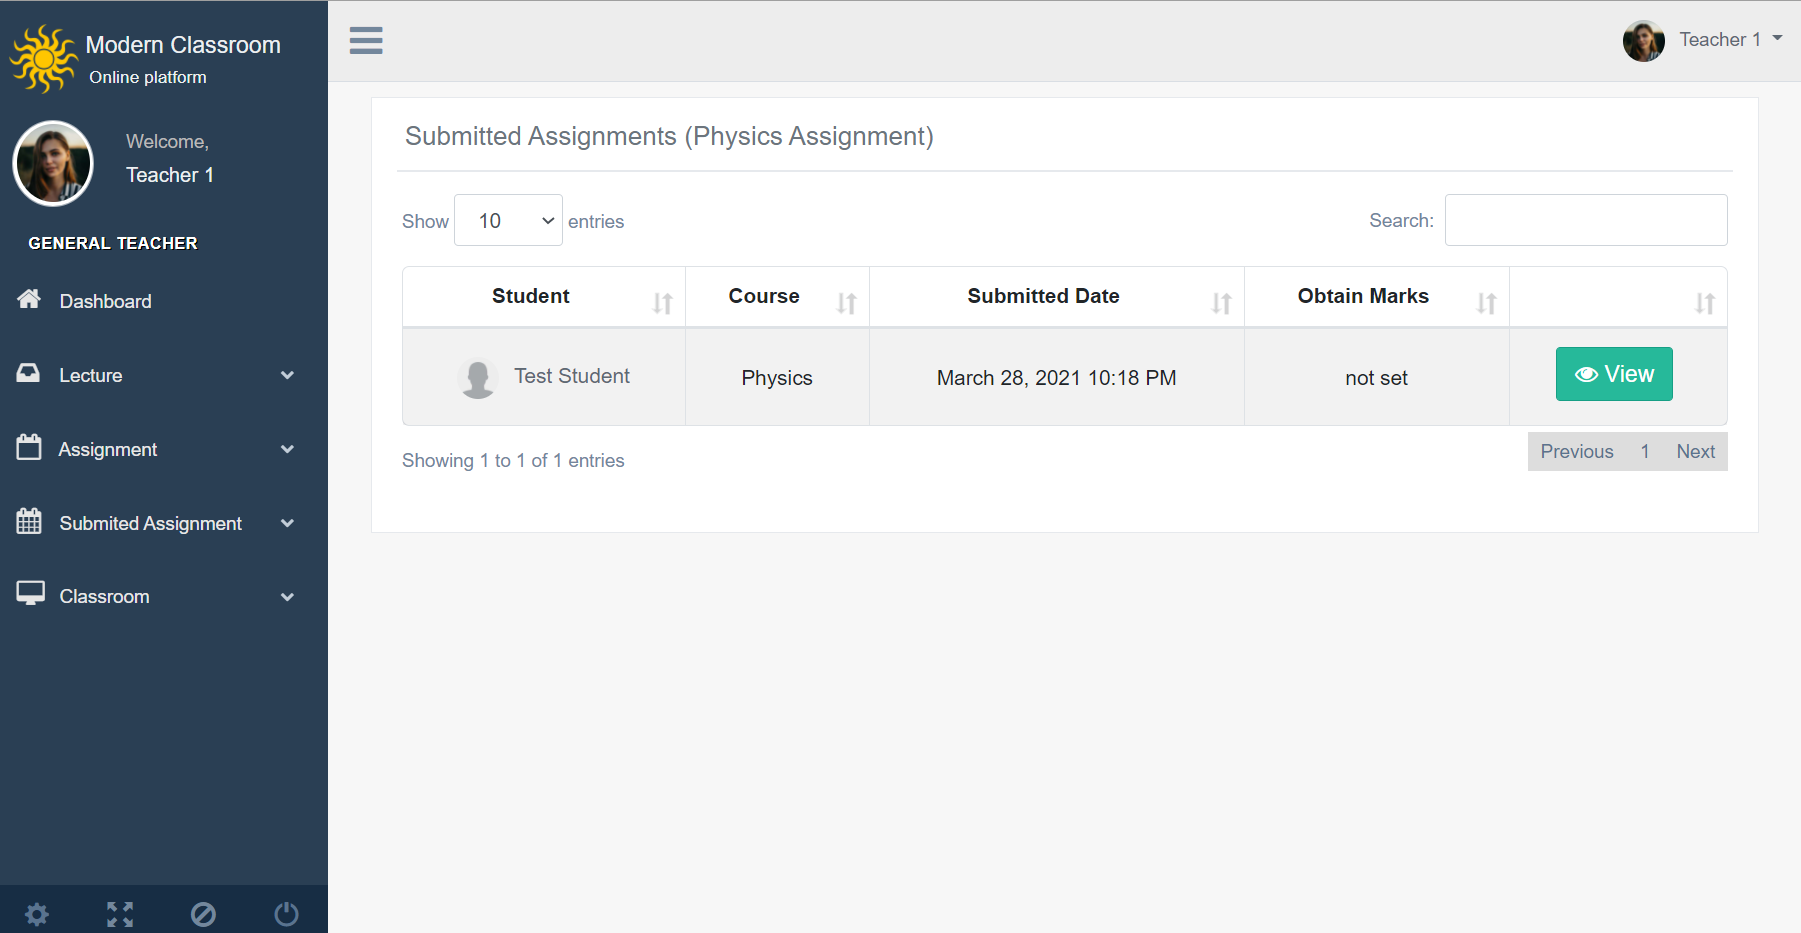
Submitted Assignment Teacher can see list of submitted assignment according to the subject here
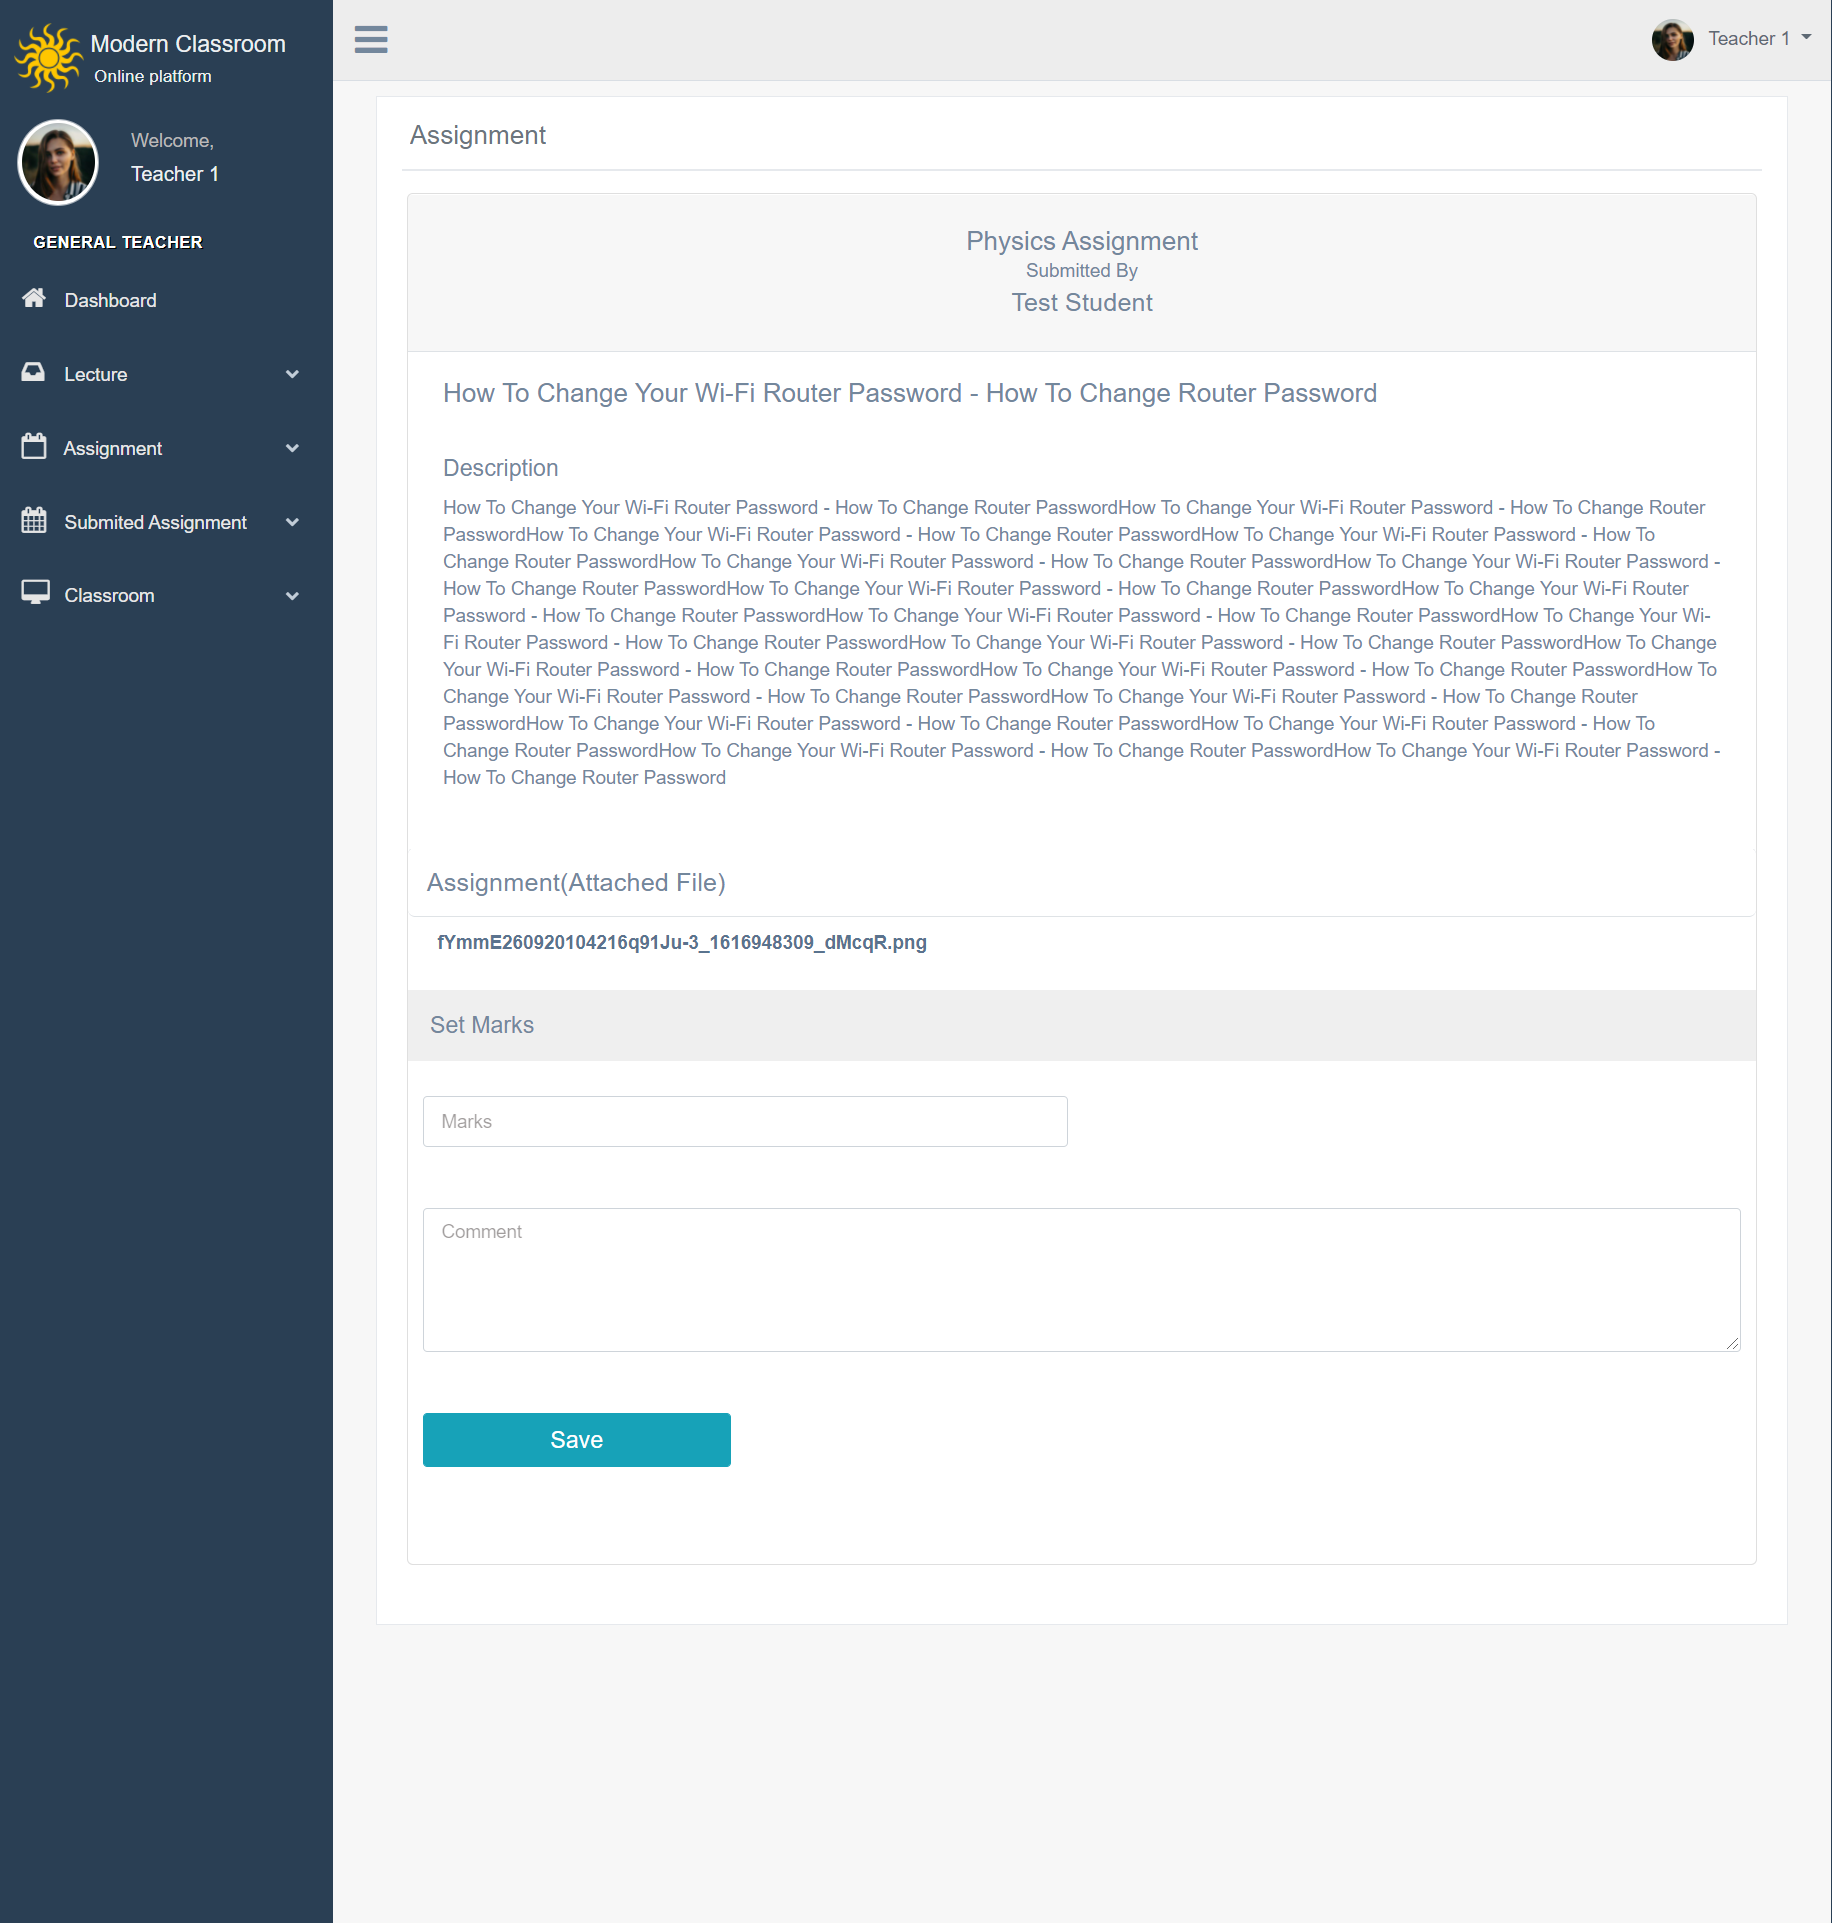
Assignment Evaluation Teacher Assignment From list of submitted assignment, teacher can evaluate student assignment here and can set comment or corection.
After save attendence, you can search teacher attendence status by date.
Teacher Classroom Here teacher can see list of his classroom. Teacher can add new classroom or update classroom datetime. Teacher can share his screen to all the students. Teacher can use whiteboard in his panel
Student Panel
Login to Student Panel through URL http://yourdomain/login
User can login with Username or Email
Student Panel has 8 sections -
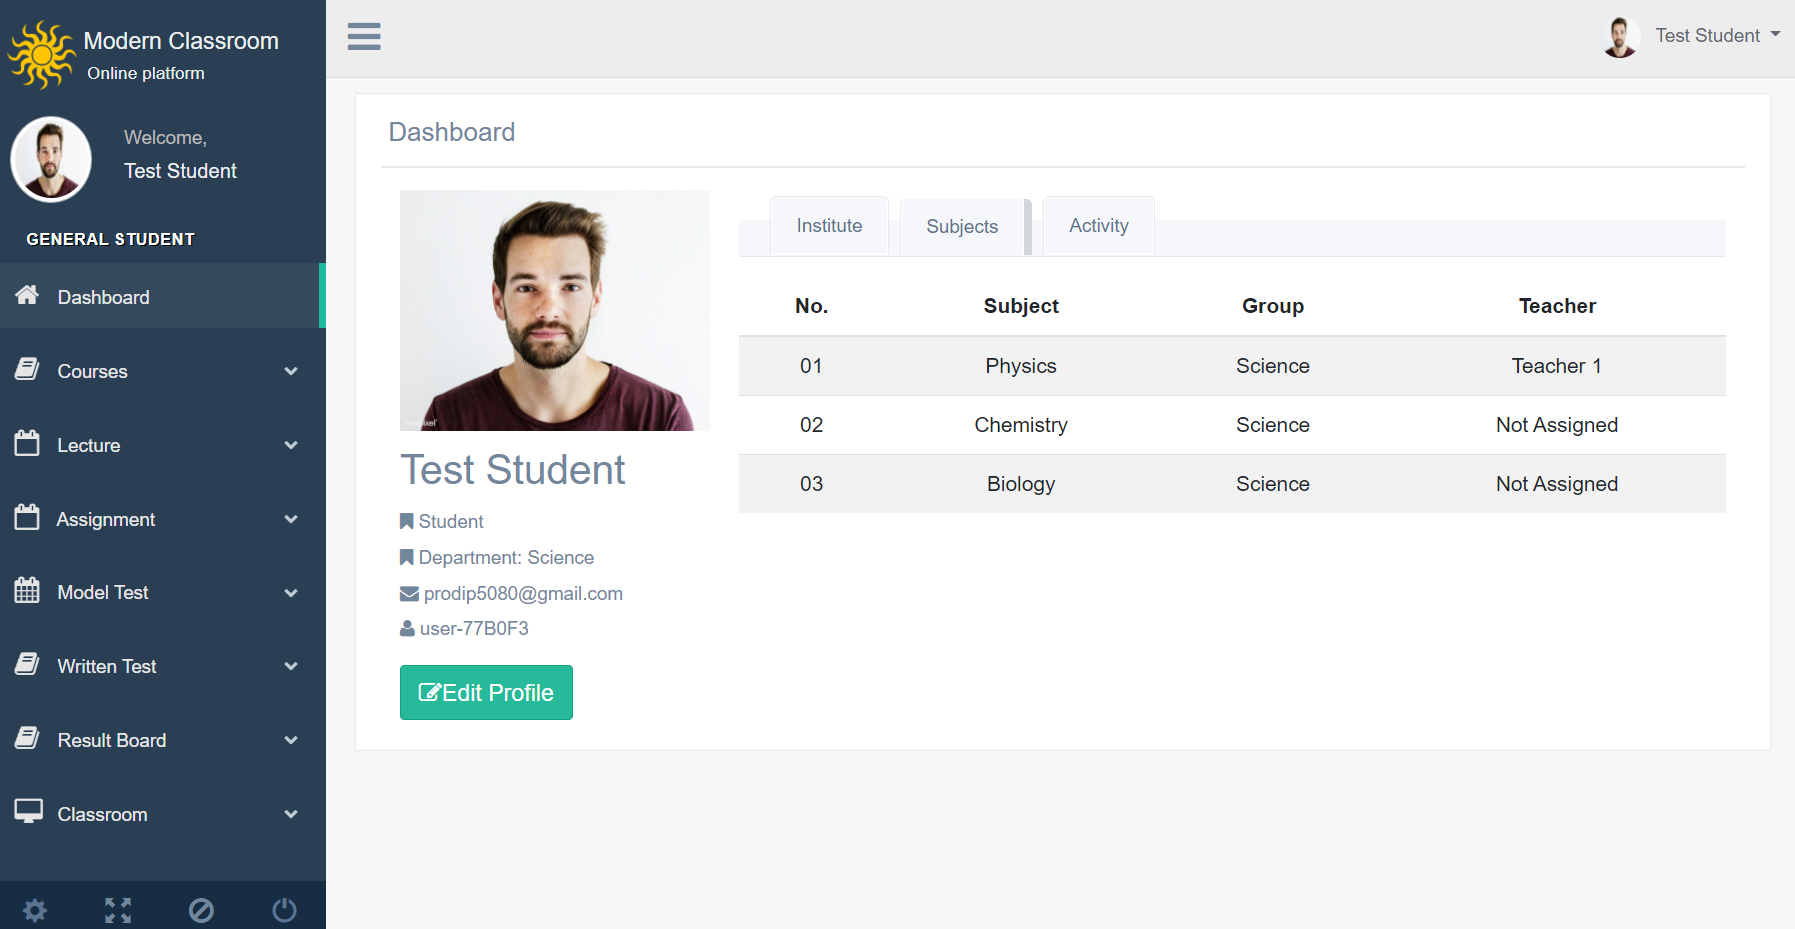
- Dashboard- after login student can see their complete profile including their classes, subject and related teachers
Course List- student can see their courses list here
Assignments- student can see their assignment list here. Student can upload assignment by text format or file format or both
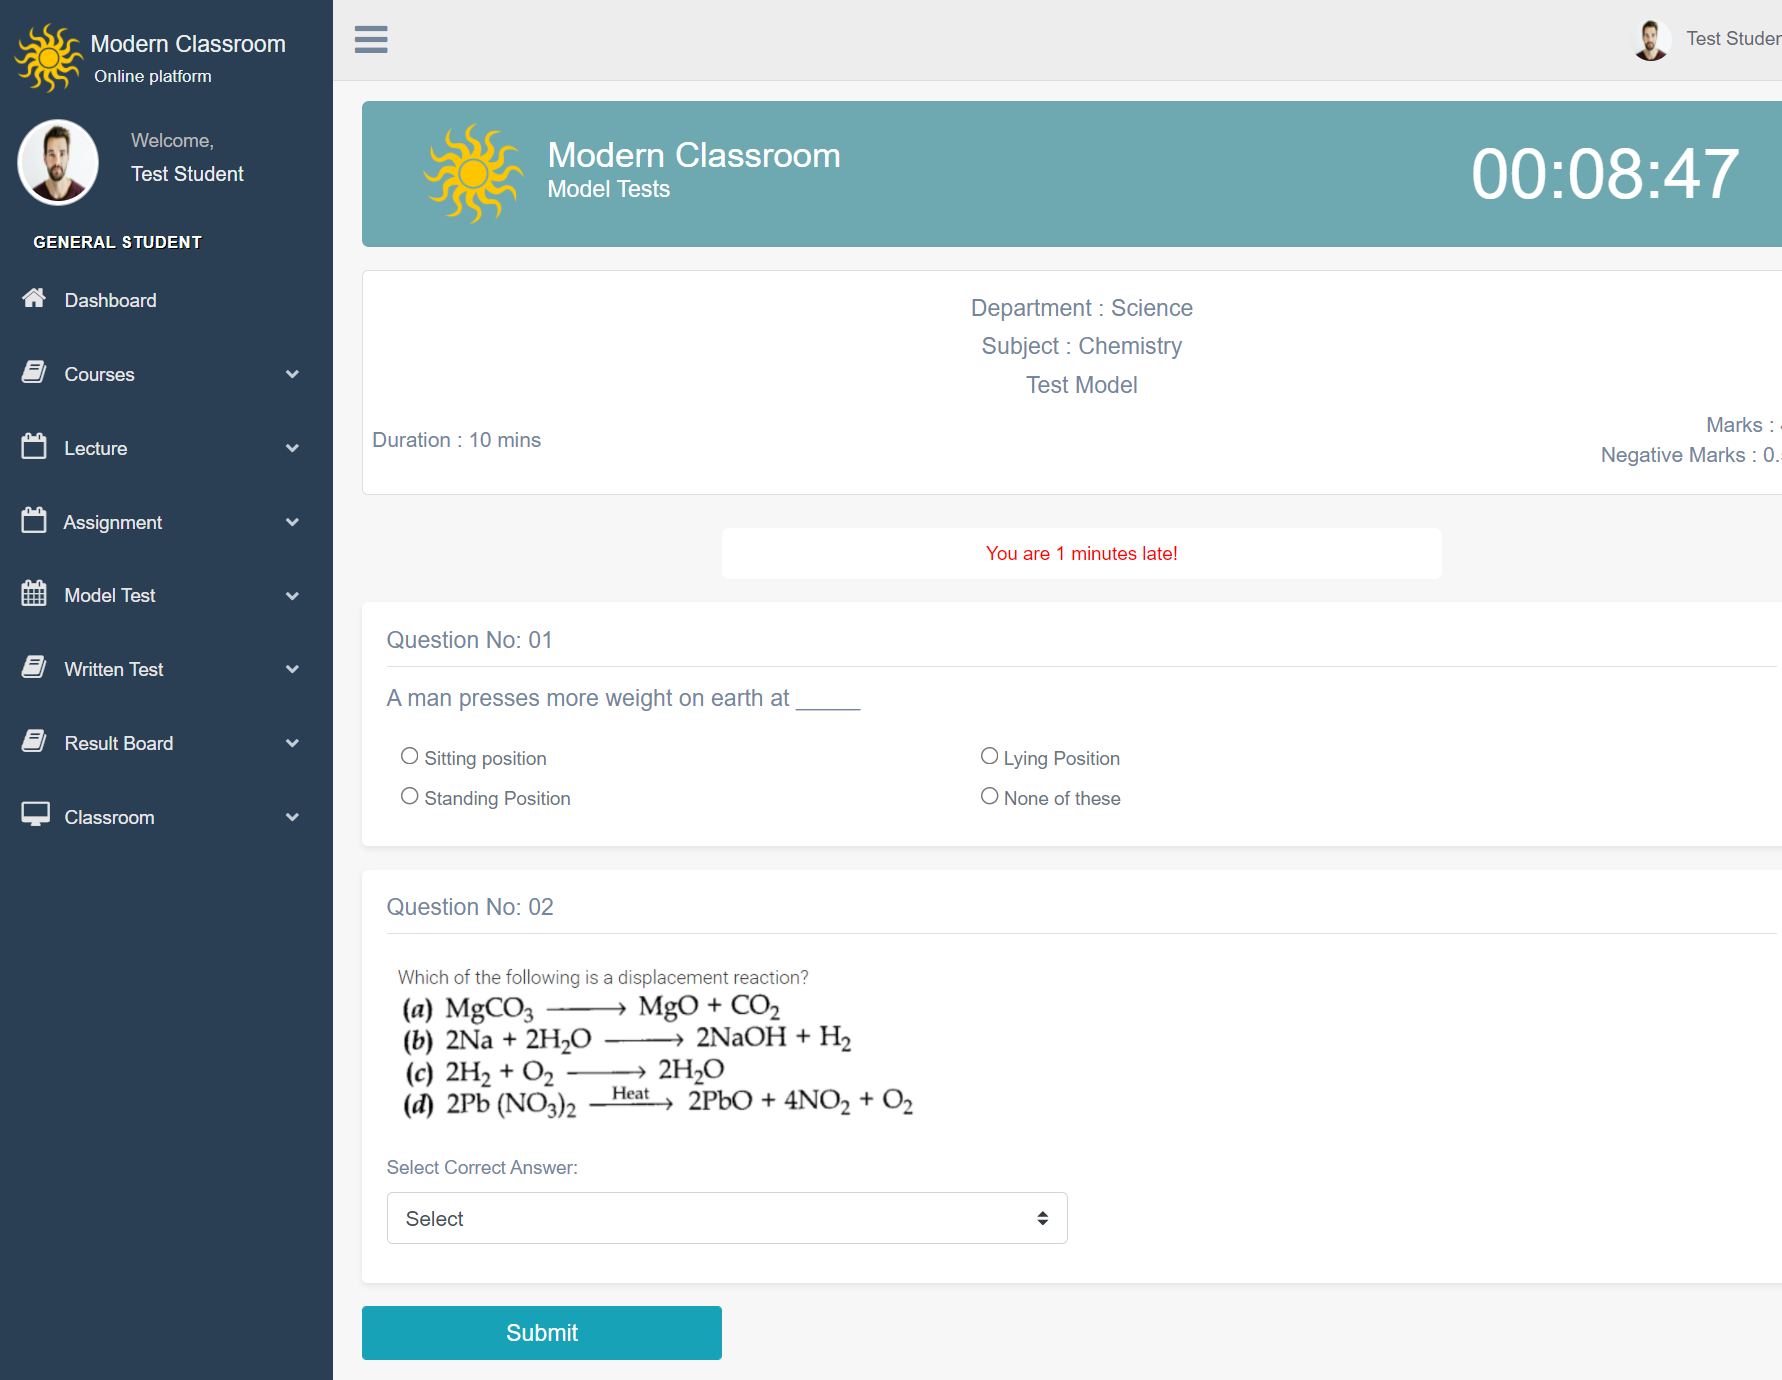
Model Test- student can see their Model test stats here. Before start the test student should read the Test instruction by clicking Helpline button
Written Test In this section student can check thier Total model test, completed model test and test result details. Student can start test on time. If any user deplay to enter the test on time then thoes time will reduce from total time. The test papar will auto submit after the timer complete. copy and paste test is restricted. Without submit student can't leave the test or submit immediately. After submit teacher will review the test and when teacher set evaluate and comment for the test, then mark and correction tips will appear in the student panel.
Result Board Student can Check thier Model Test and Written Test Result details.
Free Help & Support
If you face any issue for setup. Please inform us. We will assist you. Support is limited to questions regarding the code features, bugs or problems with the application. We are not able to provide support for code customizations or third-party plugins. If you need help with anything other than minor customizations of your code then you should enlist the help of a developer or our customization service.


Leave a Comment